Main Details
Notice
With a new class evolution system coming it is likely that the way this class is played will change, I will monitor the new strategies and relaunch the guide adjusted as necessary at that point - Until then I won’t reference the new stuff
Additionally this guide is due an update anyway so they will coincide with each other!
Gear & Main Stats
The main part to any builds is your gear, for plume we want Combo/Crit gear
(For new players it’s okay to just look for one or the other until you reach Legendary gear)
As you progress you want to make sure you have these two stats at a minimum of 100%. For those using plume for PVP, especially late game, you want to overcap (over 100%) these as much as possible as you will start to encounter more players with high ignore stats
Where to get these stats:
Gear - this will give up to 70% of both
Class Passive - this gives 30% Combo
Relics - you can choose between Combo or Crit depending which you lack more, this will give 10% (more if using Potent Spore)
Pals
Banana Pals - Blue gives 5% and Red 10% Combo
Eggplant - 10% Crit
Benny 5% Crit
Beastroar Bow - 20% Crit
Divining Path & Guardian Remolds - you can get lots of both in these and it’s where you will get yourself capped or push well over cap
![In-game item named '[Eternal] Stellar Invite', a level 178 badge or icon with a blue background, star, and ribbon symbols. The item displays stats including HP 1,092,063, ATK 6,652, DEF 2,222, with 6.54% combo chance and 6.73% critical rate.](https://images.squarespace-cdn.com/content/v1/697622c4cd8df84906daaf62/d0fd6412-c0ab-4d7a-827f-2cc31f52af46/Gear.jpg)
For more details on this feature go here
Resource Allocation
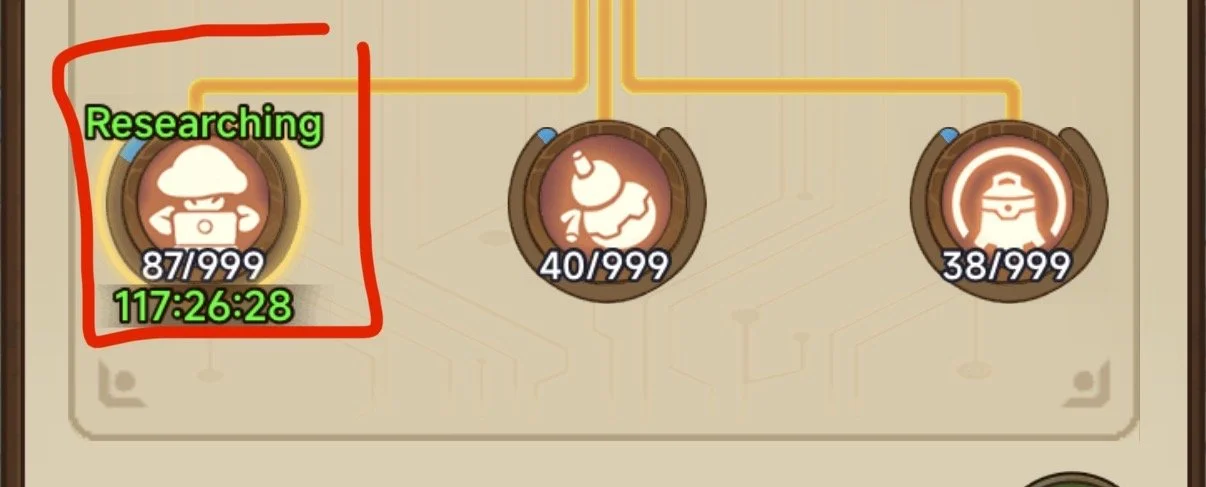
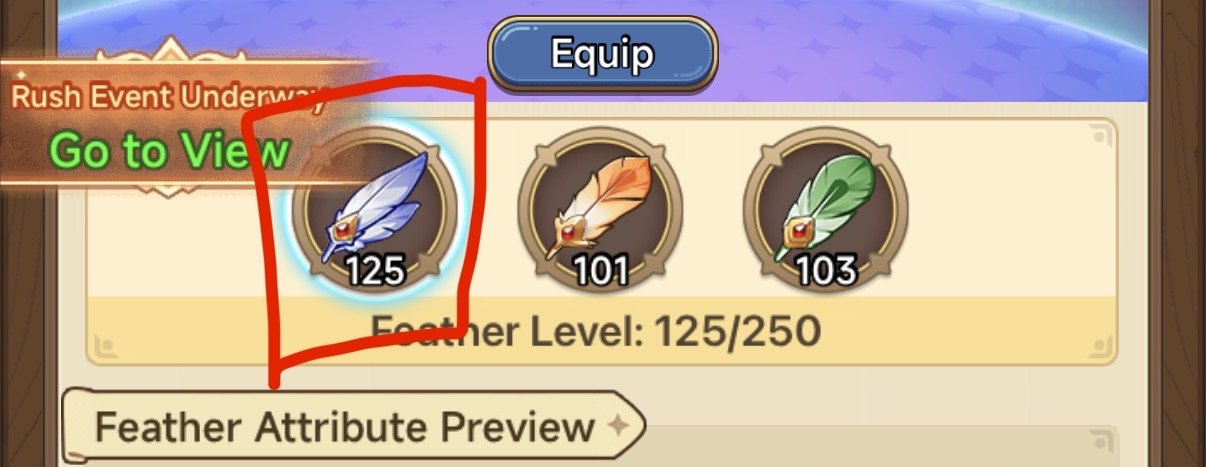
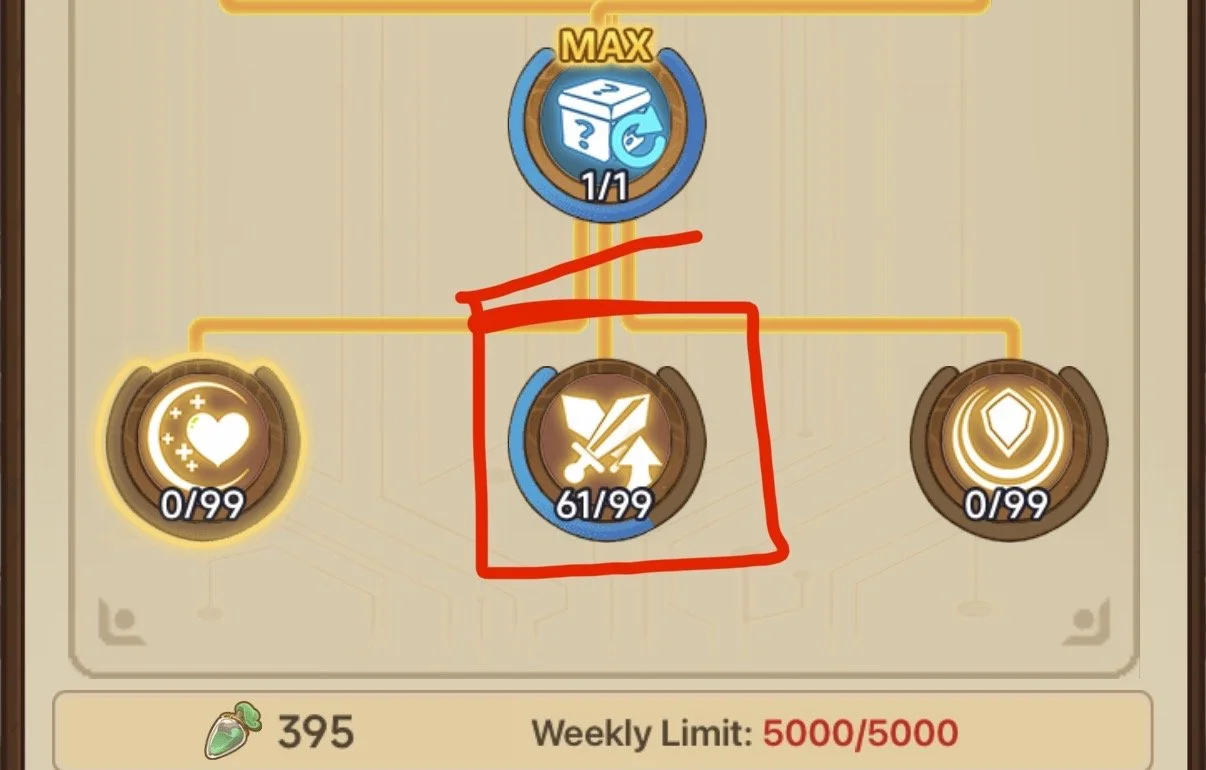
Where to put your resources in Tech / Feathers / Scared Tree?
Simple… Attack!!!
You can also look to put some in HP later on if you use plume for PVP and start to face tanks, however at most I would have a 2:1 ratio for ATK:HP
Tech Tree
Back Feathers
Sacred Tree (Pantheon)
Souls
Souls are one of the areas that are dependant on you, so I will just outline your priorities
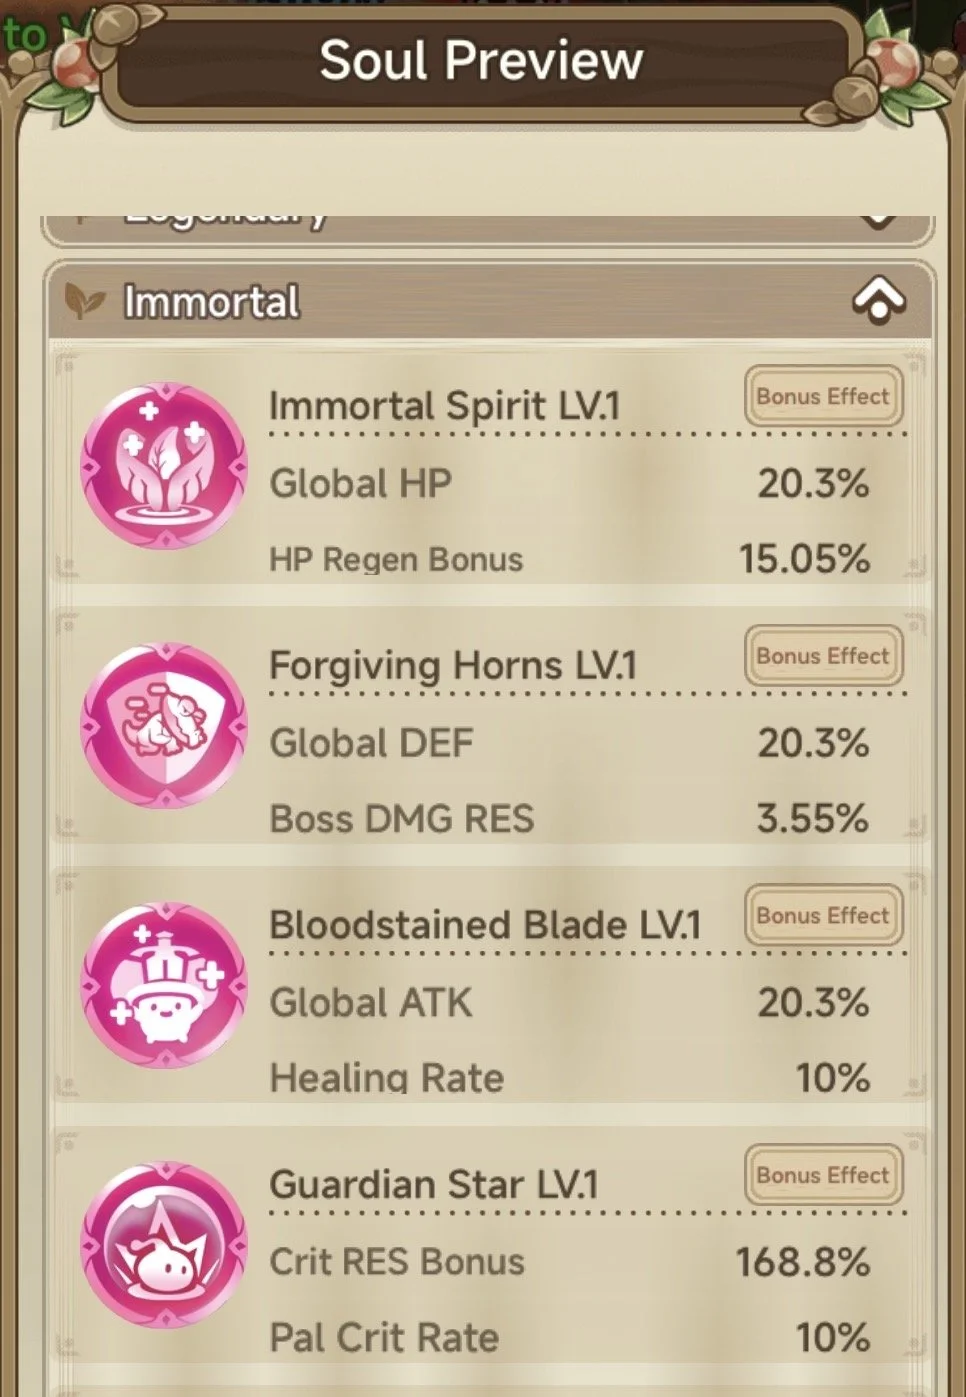
Pink Priorities
ATK ≈ Combo
Pink Combo soul adds Boss DMG onto the soul, this makes a huge difference when pushing PVE so I would say this as your first, however if you aim more to PVP then ATK is your priority
HP > DEF
As these both turn to Global stats these are your next priority
Crit DMG ≈ Crit Res ≈ Basic ATK ≈ Counter DMG
None of these change to anything more or less useful so just get through them as you can
Levelling Souls
PVP
ATK > HP > Combo DMG ≈ Crit DMG > Crit Res
In Late Game to face tanks you can add some DEF
PVE
Combo DMG > Crit DMG ≈ ATK
If you die in some PVE content you can add DEF / HP in here too but it’s best to maximise damage
The ATK and Crit DMG will depend on your current stats
Bonus Stats
When making Pink souls you will notice they get an extra bonus stat. Later on you can try get duplicate souls to get extra bonus stats to choose from
(You can view the available options per soul in “Preview” and then “Bonus effect”)
These are the best passives to get on each of the souls:
- Global ATK -> Global Combo DMG
- Global HP -> Resitances
- Global DEF -> Resitances
- Crit Res -> Resitances
- Combo DMG -> Global Combo DMG
- Crit DMG -> Global Combo DMG
- Batk DMG -> Global Combo DMG
- Counter DMG -> Counter DMG Res
For more details on this feature go here
Awakening
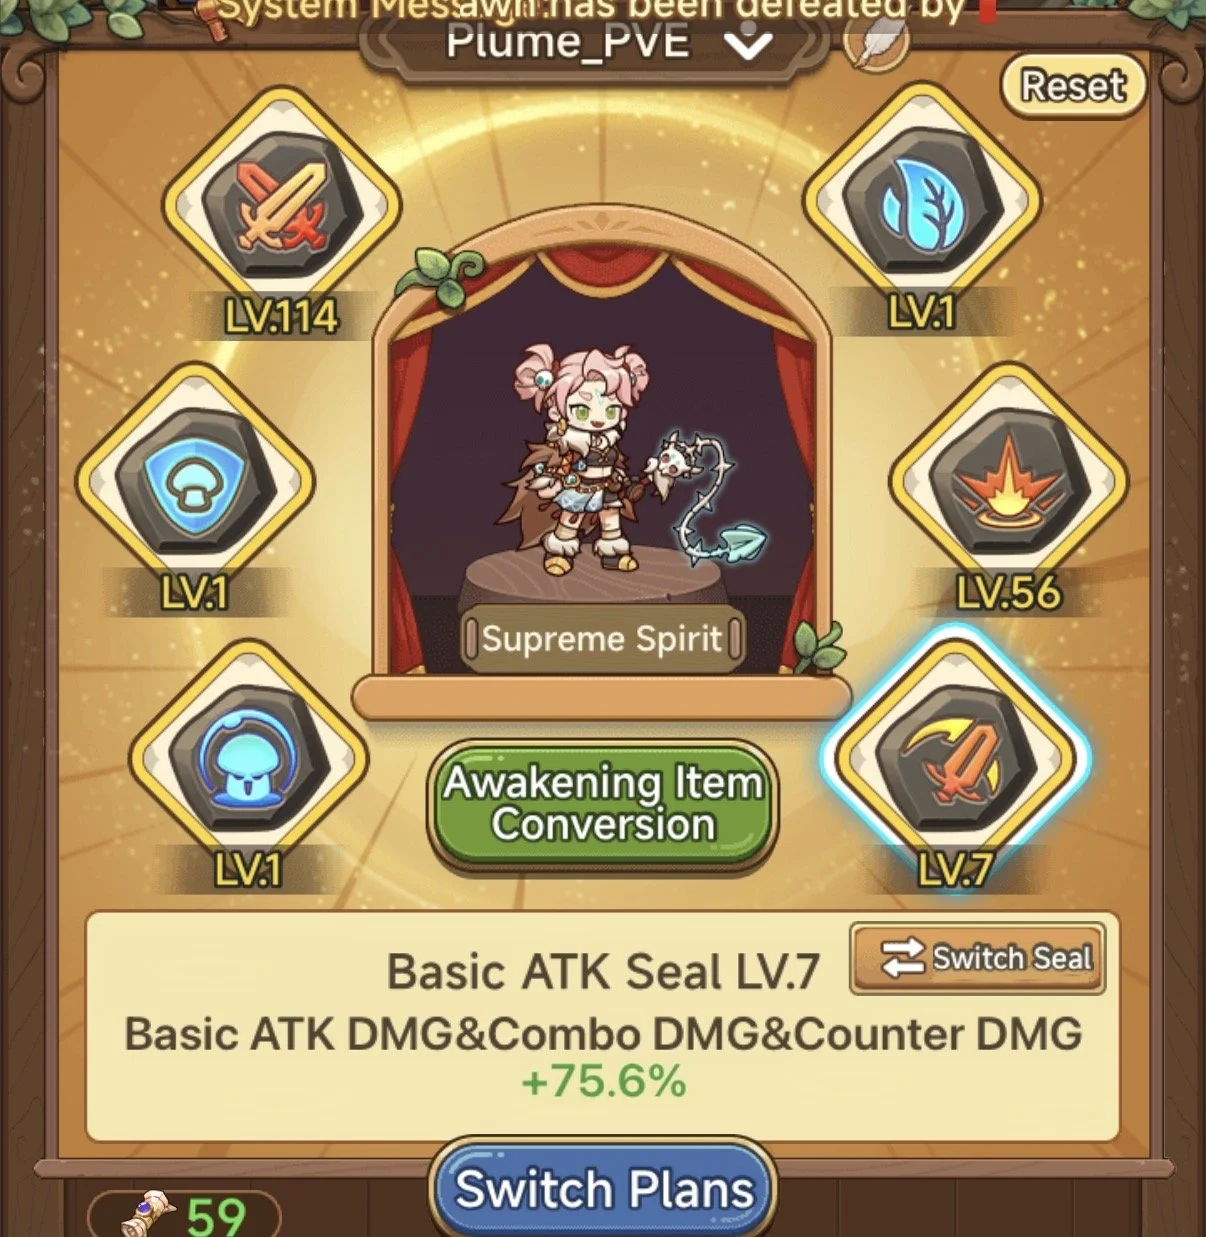
After doing setting up your souls you will want to do your class awakening. Unlike souls we can create presets here to fill in the gaps
(If you are still unlocking your awakening nodes you can still follow along you just may miss some options)
PVP
ATK > HP > Crit DMG > Crit Res ≈ Basics
For a preset against Tanks you can remove Crit Res and add some DEF
While the Basic ATK includes Combo the % is not high hence it being at the back
You can go more aggressive by reducing HP & Crit Res and pushing more ATK / Crit DMG
PVE
ATK > Crit DMG > Basics
If you still die in some PVE content you can add some HP in however we want to focus damage output for the most part
For more details on this feature go here
Back Accessory Talents
This is the last of the wavering areas. It will depend heavily on your current amount of feathers and what you are facing to set these up
For more details on this feature go here
Prayer
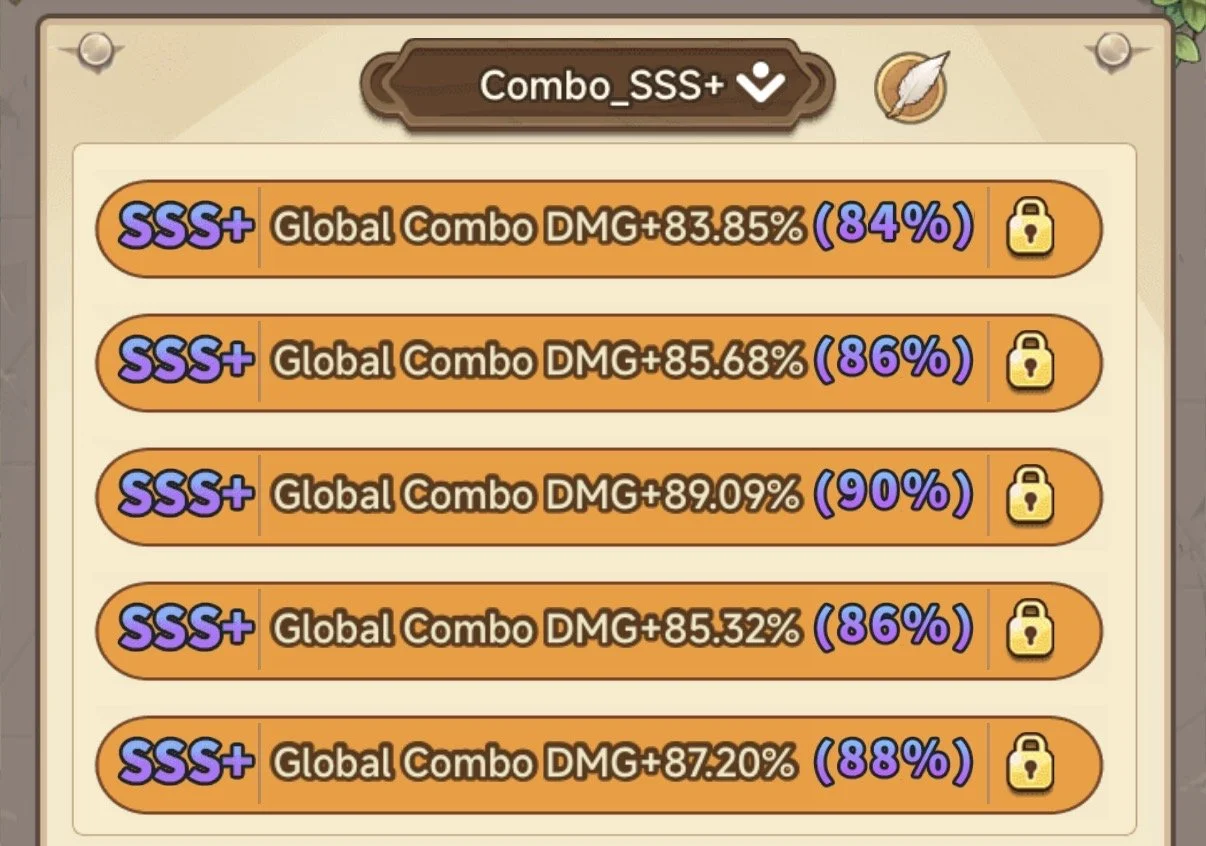
This is fairly simple for plume, 5x Global Combo DMG at the highest rarity available to you
If you are at SSS or SSS+ you may want to create another tree and go for 100%
For more details on this feature go here
Enchantments
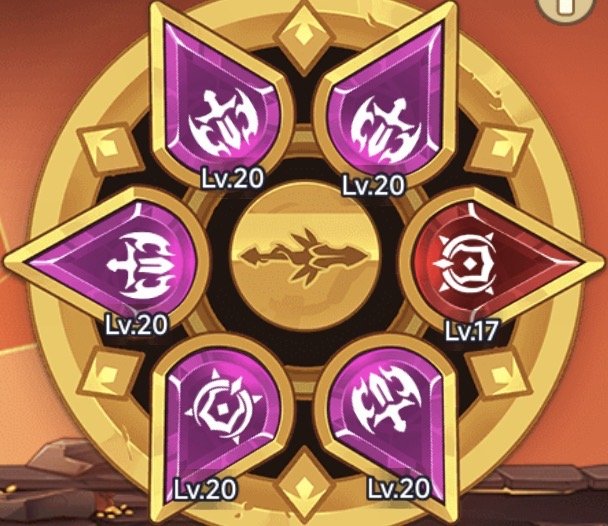
Runes are one of the longest parts to complete, getting ‘Perfect’ runes will take a long time, however there are main things you will want to get as soon as possible:
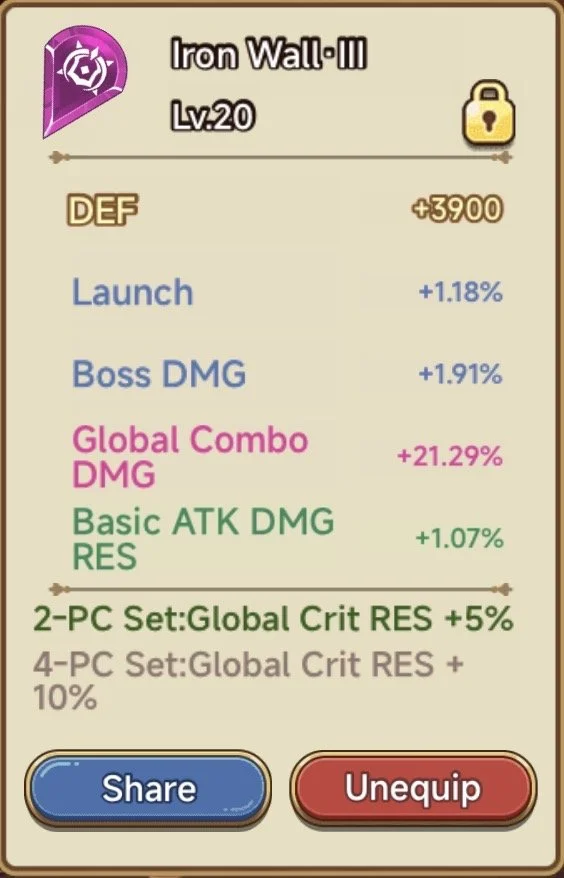
You want to make sure your Main sets are correct and each has correct secondary stats
The sub stats you just want to get your main, you can improve them over time
Note: The main stat Combo (Furious Gale) is not actually that good so you don’t need this if you want to save resources! -> It’s bonus is so small compared to the other options
Main Stat Sets
For PVP -> x4 Crit DMG and x2 Crit Res
For PVE -> x4 Crit DMG and x2 Combo DMG
(also good for glass cannon/vs tank PVP)
(When you start out it may be hard to get the desired runes so x4 Combo DMG and x2 Crit DMG would also work)
Secondary Stats
Runes 1-3 -> Always HP, ATK, DEF
Rune 4 -> Combo DMG
Rune 5 -> Any Class Res (PVP) - Batk Res (PVE)
Rune 6 -> Crit DMG
Sub Stats
The first priority is Global Combo DMG
(This is the one you will be focusing when levelling up with potions)
Other Stats (PVP):
Ignore Launch - Launch - Resists
(Slowly you can build sets for each match-up)
Other Stats (PVE):
Boss DMG - Launch - Batk Res - Boss DMG Res
For more details on this feature go here
Avians
I recommend focussing on levelling/getting your PVE Avian(s) until Dark Trials is complete, then go for PVP Avian
PVP
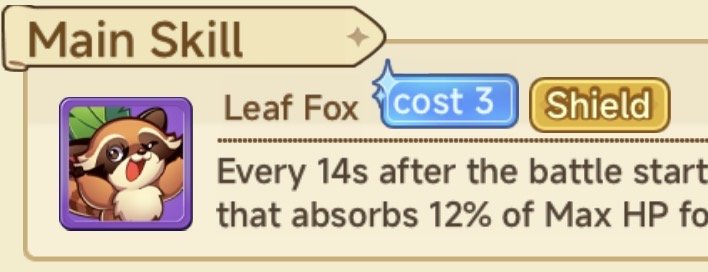
For your PVP it will depend on whether you have the Leaf Fox star card ->
Without:
Sunshine Bringer
(Without Leaf Fox or Panda you need the CC reduction from this for against disarm)
With:
Dense Cloud - Magic Cat - Firefly
(You could use others but I would prefer Cloud and then Magic Cat for later levels)
Affixes:
Shroom Combo(Required)
Rage Bonus (Required)
Barrel Dodge
Speed Distortion
Debuff Immunity(Only if no Leaf Fox)
Multiple Shots(Good for vs Tanks)
PVE
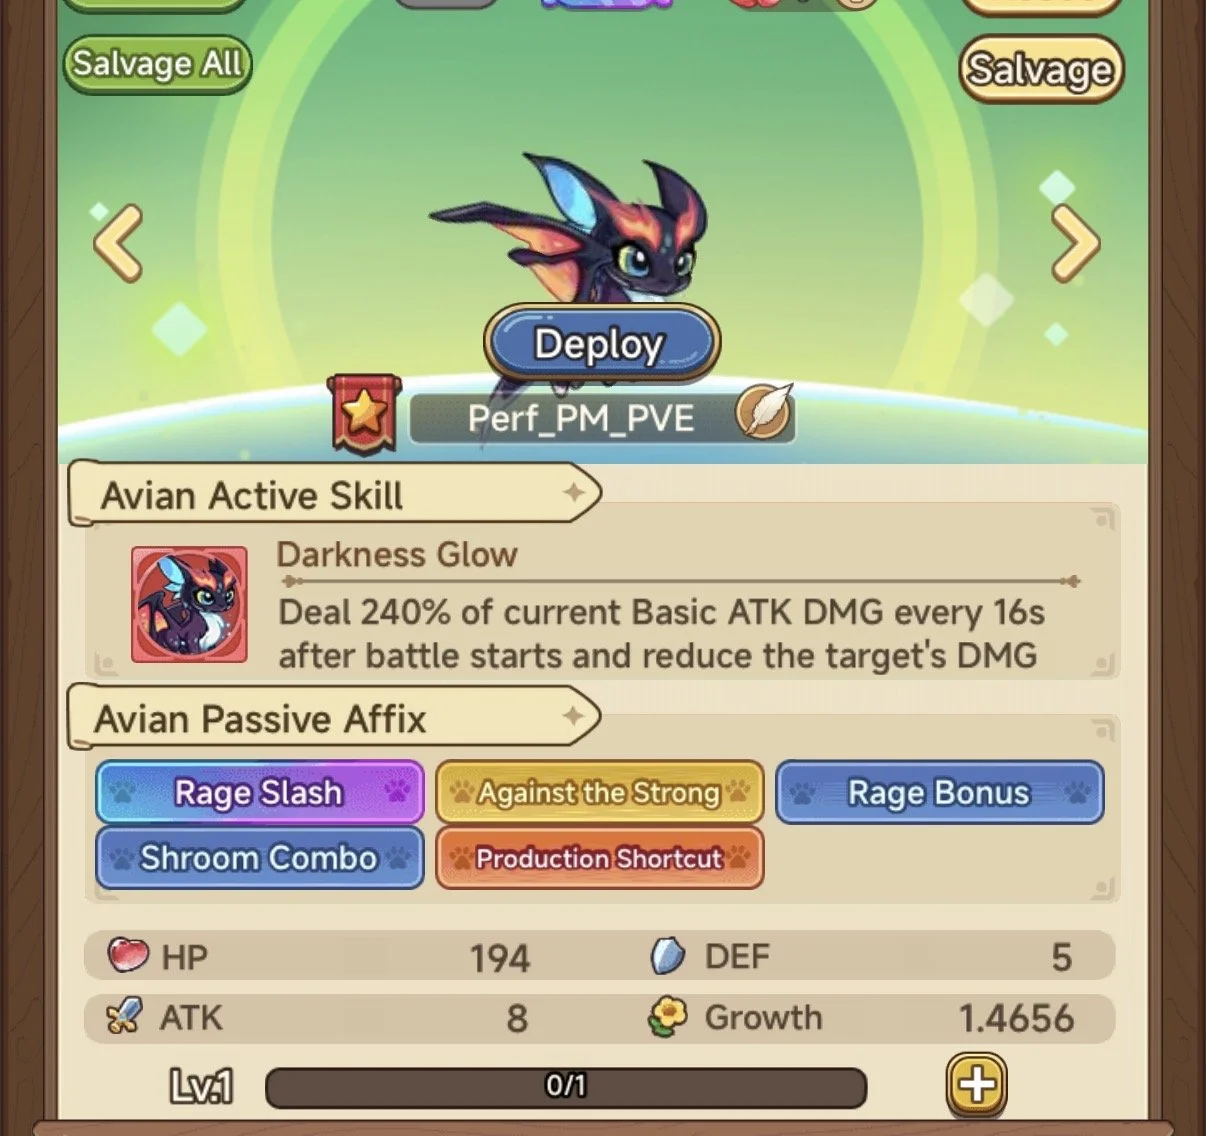
For PVE you have a few choices, dependant on which PVE mode and where you are in game you can use different ones
Firefly -> Pure damage, can be beaten by cloud in longer fights
Michelle -> Good in cases you die and compliments stun/slow builds
Cloud -> Great for damage as well as getting slow skills back up
Magic Cat -> Imo the best, and a tier up from Cloud on level stats
Affixes:
Shroom Combo/Rage Bonus (Required)
Poisoned Arrow
Against the Strong
Rage Slash
Note: People have very different views on which avian is best for PVE so just test around
For more details on this feature go here
Relic Spores
While there are only really 2 main Spores to use as Plume I will touch on reasons you could use another 2
Potent Spore
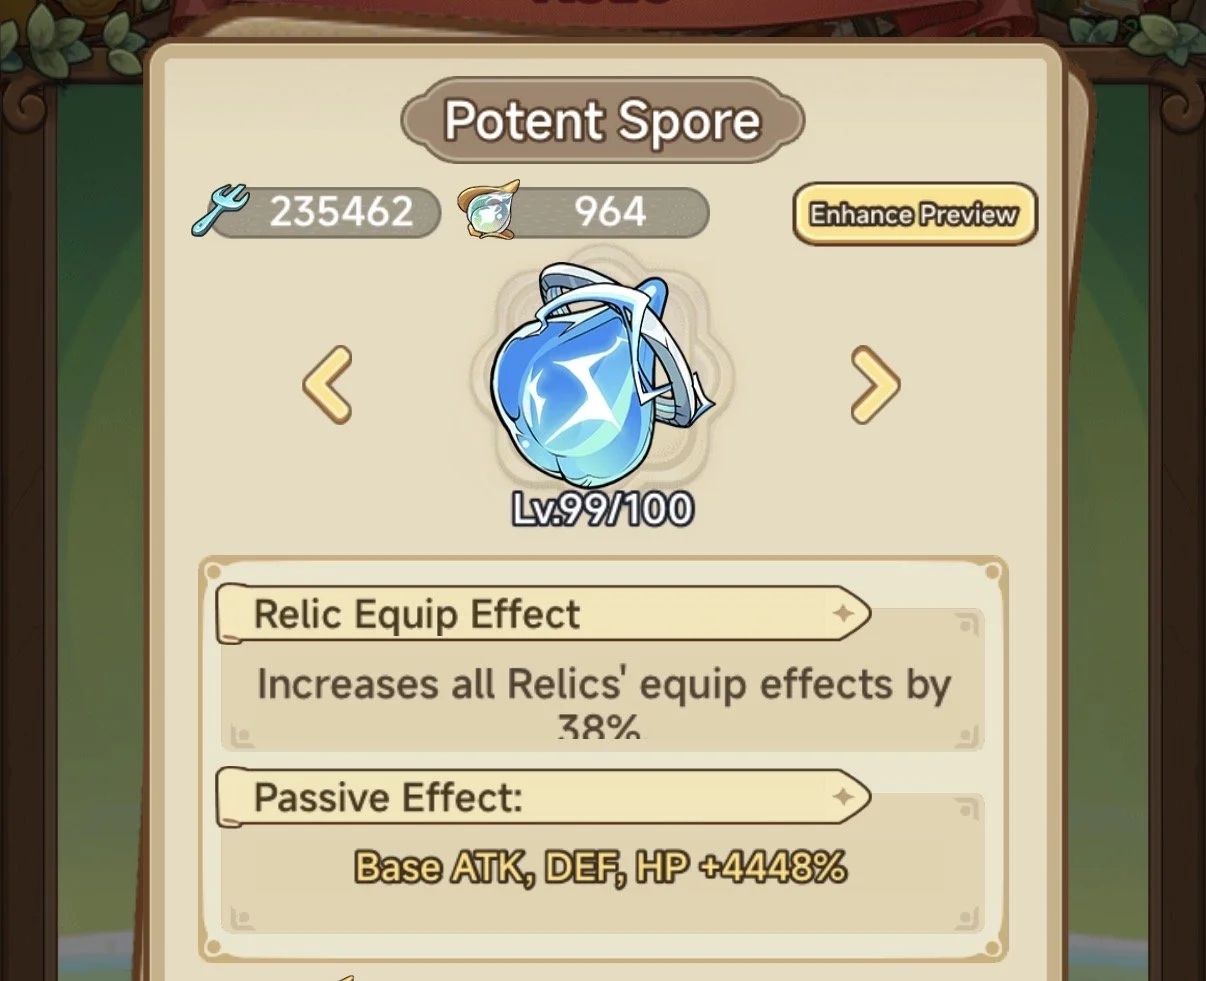
This is the main Spore used everywhere and should be the first you level to 100
It increases all relics’ effects
Chrono Spore
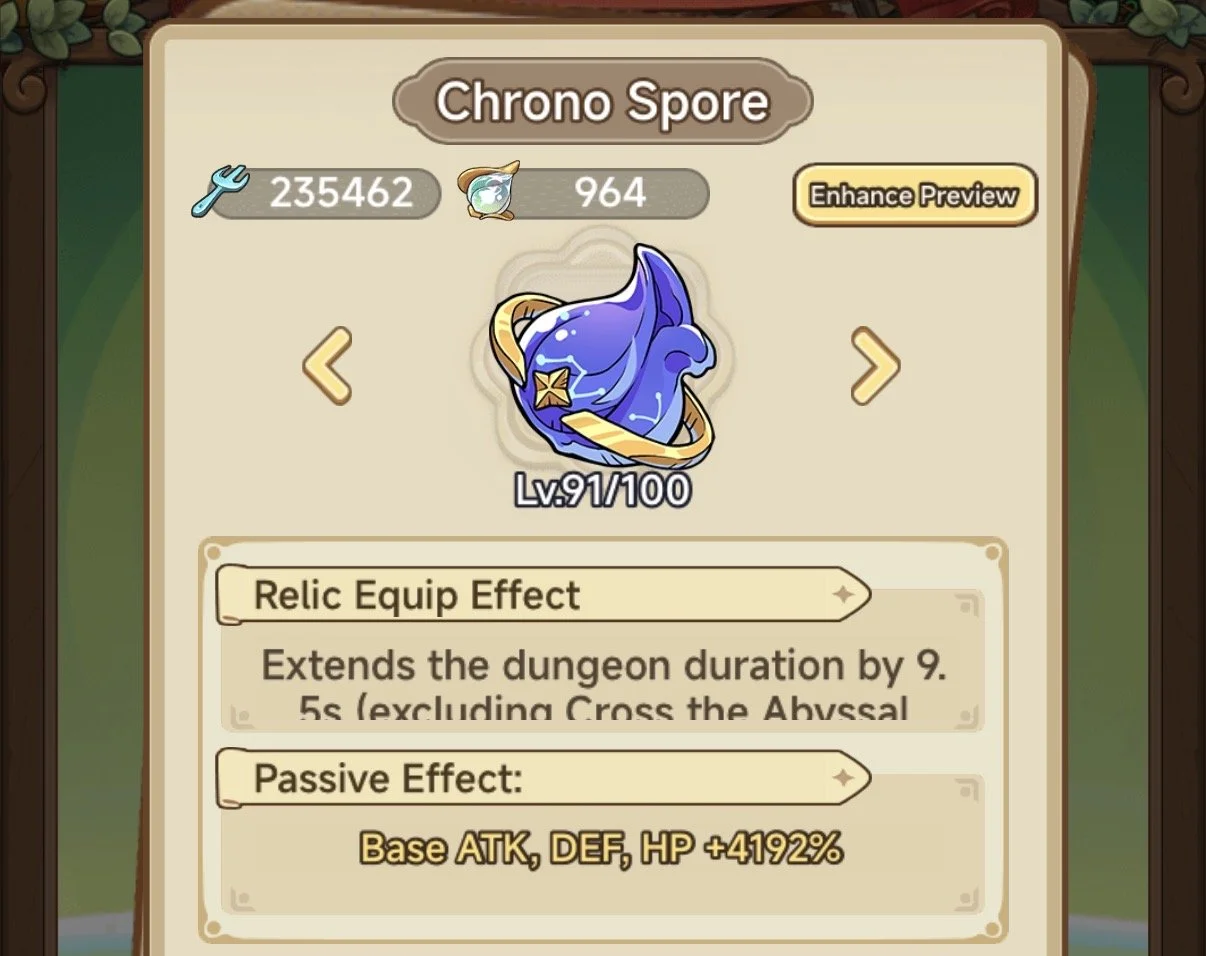
Used in PVE situations exclusivley, it extends the duration of Boss fights. Only to be used if you can already survive the full timer otherwise it’s a waste
Can be very good for campaign bosses towards the end with a slow/stun build!
Nirvana Spore
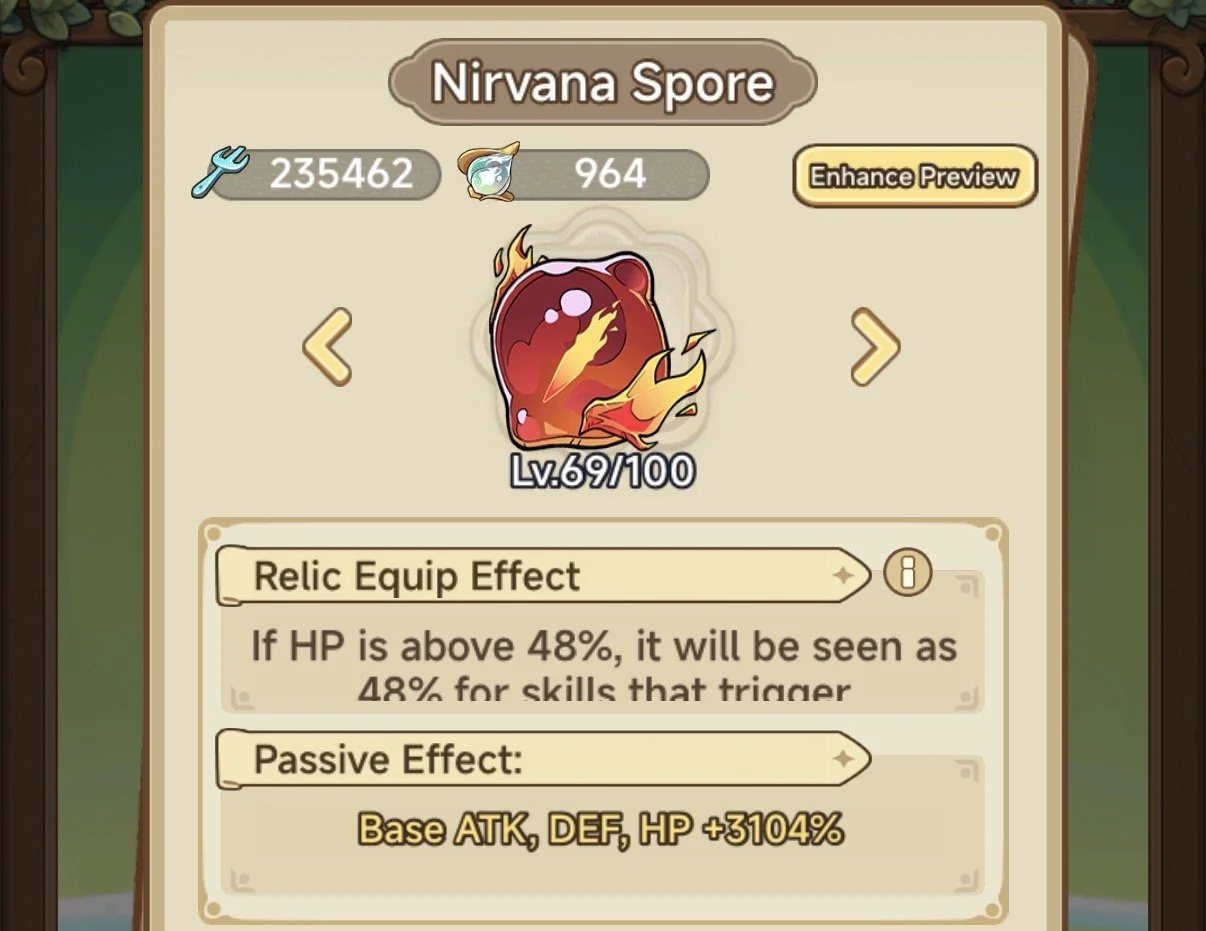
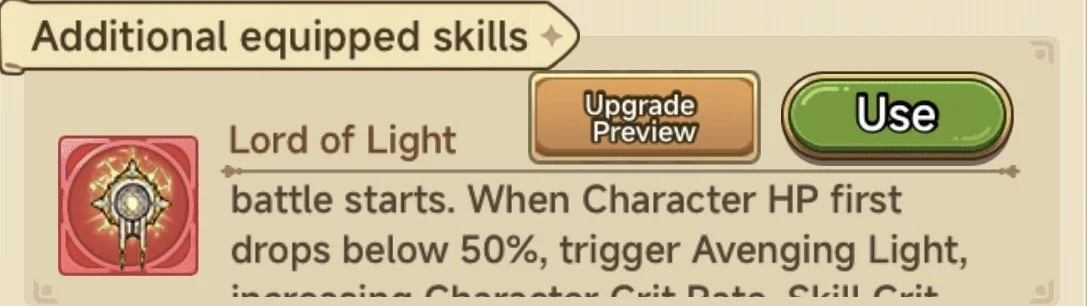
There are some items that rely on hitting a certain % HP, for these you could use Nirvana (make sure the % required for the effect is above your Nirvana)
Using this would allow the item to proc at the start of battle!
Example below
Thorny Spore
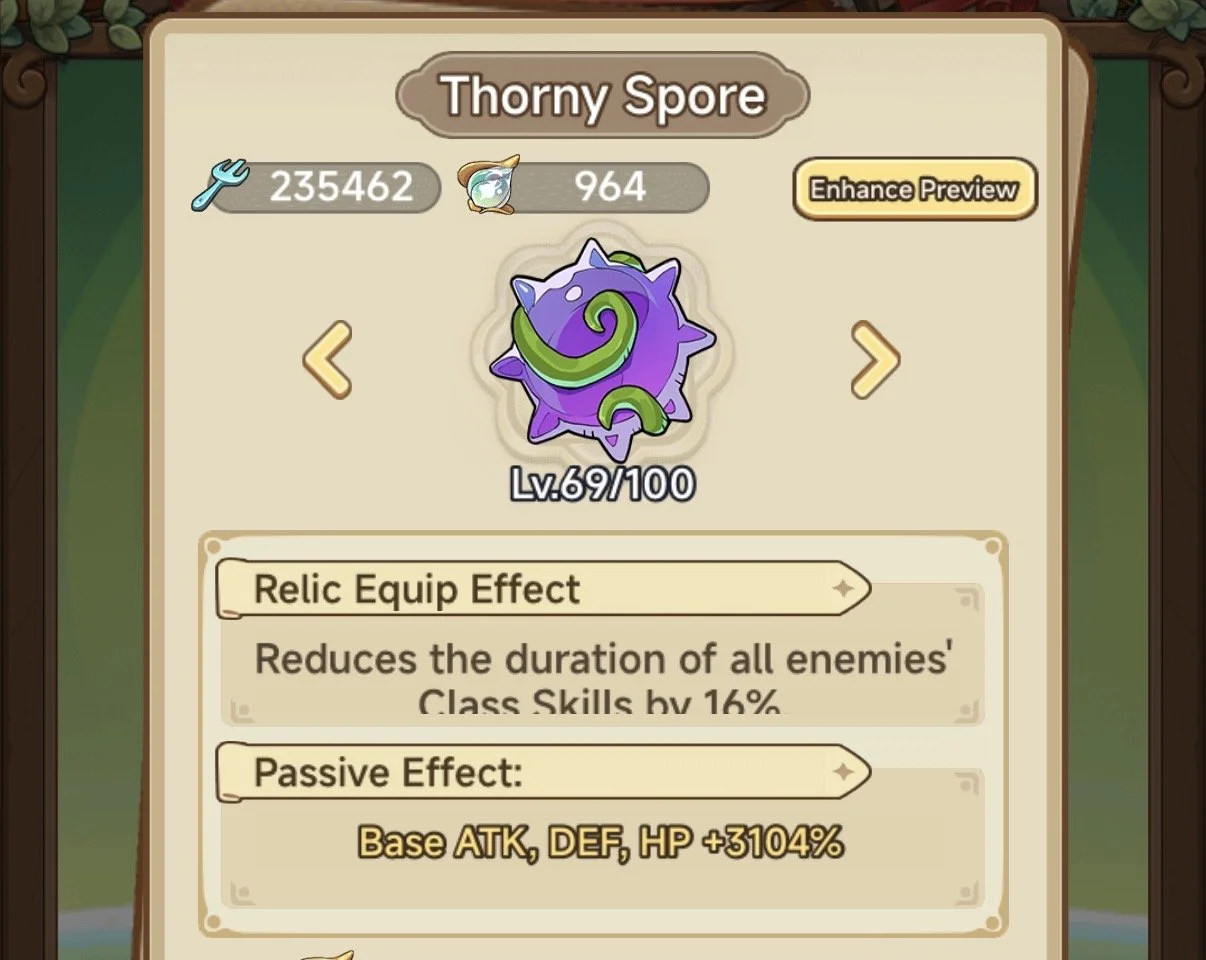
When in late game Sacred Hunters may start to pop up more often and they may use a lot of evasion. Their class skill is going to periodically pause your skills regen, this slows your access to your Class skill which ignores all evasion
To avoid this as best as possible you can use Thorny Spore to keep their Class skill shorter and allow more uptime for yours!
For more details on this feature go here
Star Arrays
There are many combinations you could use, I will run over the main cards and potential supports you could combine them with, each set-up may work better for different players in different situations so use what you have and give it a go!
(Remember you can only use the same types of cards with each other, If your main card is passive the supports have to be too)
For more details on this feature go here
Divining Path
Divining can take a long time to get perfect, only use your ‘Flames of Wisdom’ on branches you haven’t fully unlocked until you reach Universe Path. I would also recommend making only one set for Plume
(Unless you need to invest more on a branch and your main set has a red)
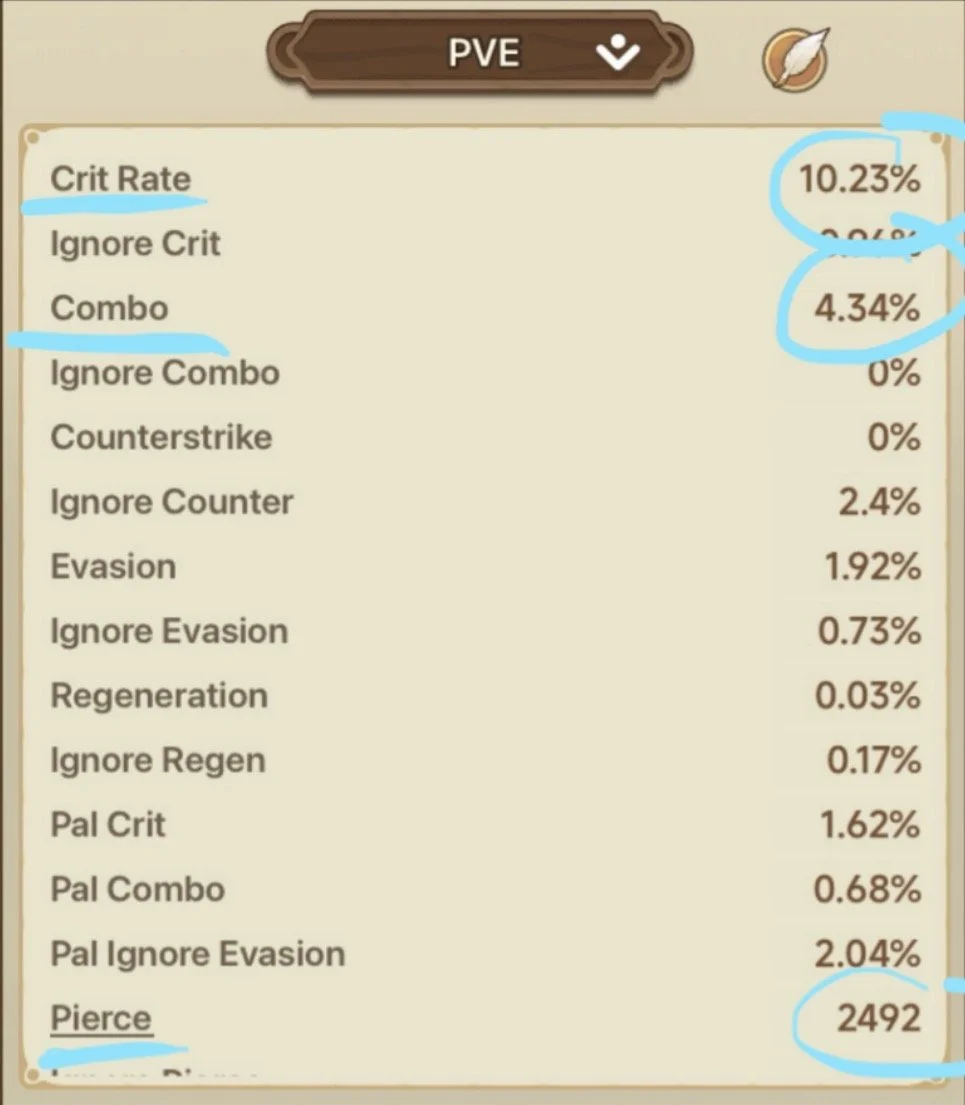
As I stated at the beginning you want to first use divining to get up to 100% on Crit and Combo
In Life Path:
Combo
Crit Rate
Global ATK / HP
In World Path and Universe Path:
Combo & Crit Rate - To reach 100% or Over-cap
Pierce
Ignore Pierce
Ignore Combo
Ignore Counter
More stats you could get:
Ignore Block
Ignore Crit
Ignore Pal Inspire
Note: Ignores are very dependant on what you face so feel free to choose, I have just put the common options first!
For more details on this feature go here
Guardians
Guardians are one of the most important parts of your build due to their obscene strength so I advise to check through what is best so you can get set up correctly
For more details on this feature go here
Treasure

For the Treasures you dont get many choices for things however there is 2 things you can choose, which Treasures to upgrade and which skill to use (once you have sets unlocked)
I would prioritsie levels by the rarity aiming at red first because they are inital which is a much higher increase then base % increase
I would then do:
ATK > HP > DEF
For Skills I would use the “Field of the Unknown” skill, it increases Final Crit DMG and Crit Rate throughout the fight so, for now, it is the best one around for PVE and likely PVP depending on fight length
(For shorter fights I would test around with a few but none are great!)
For more details on this feature go here
Items
Items are very hard to state accurately what ‘will’ work best in different areas. I will list what I believe to be the ‘BIS’ and some alternatives. Some I do know work in specific build set-ups and for those I will specify also
For more help choosing what to use/get check out the Database or ask in the Discord
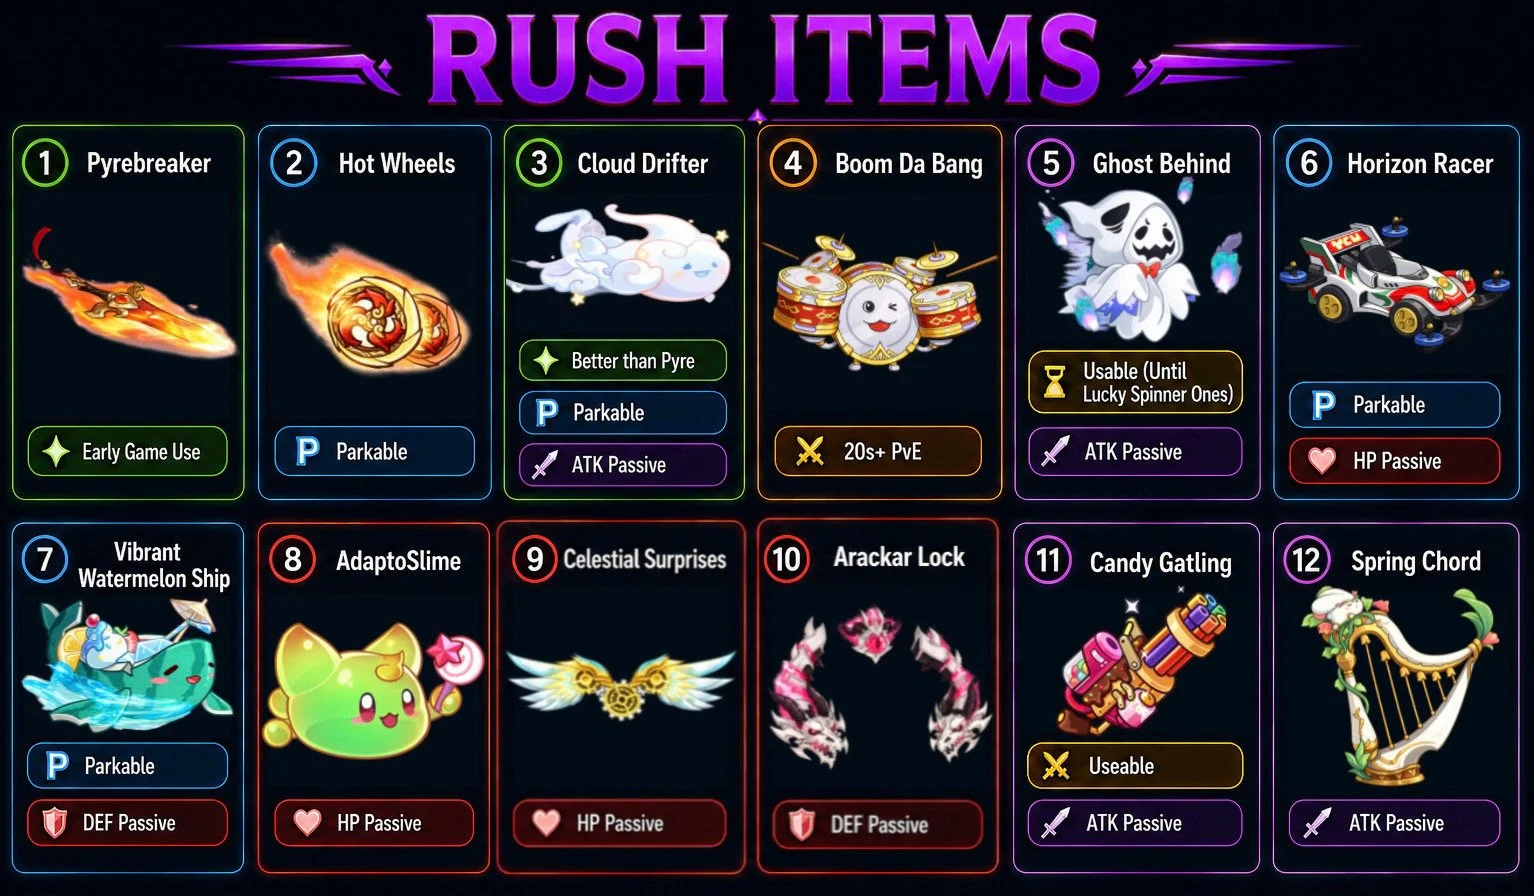
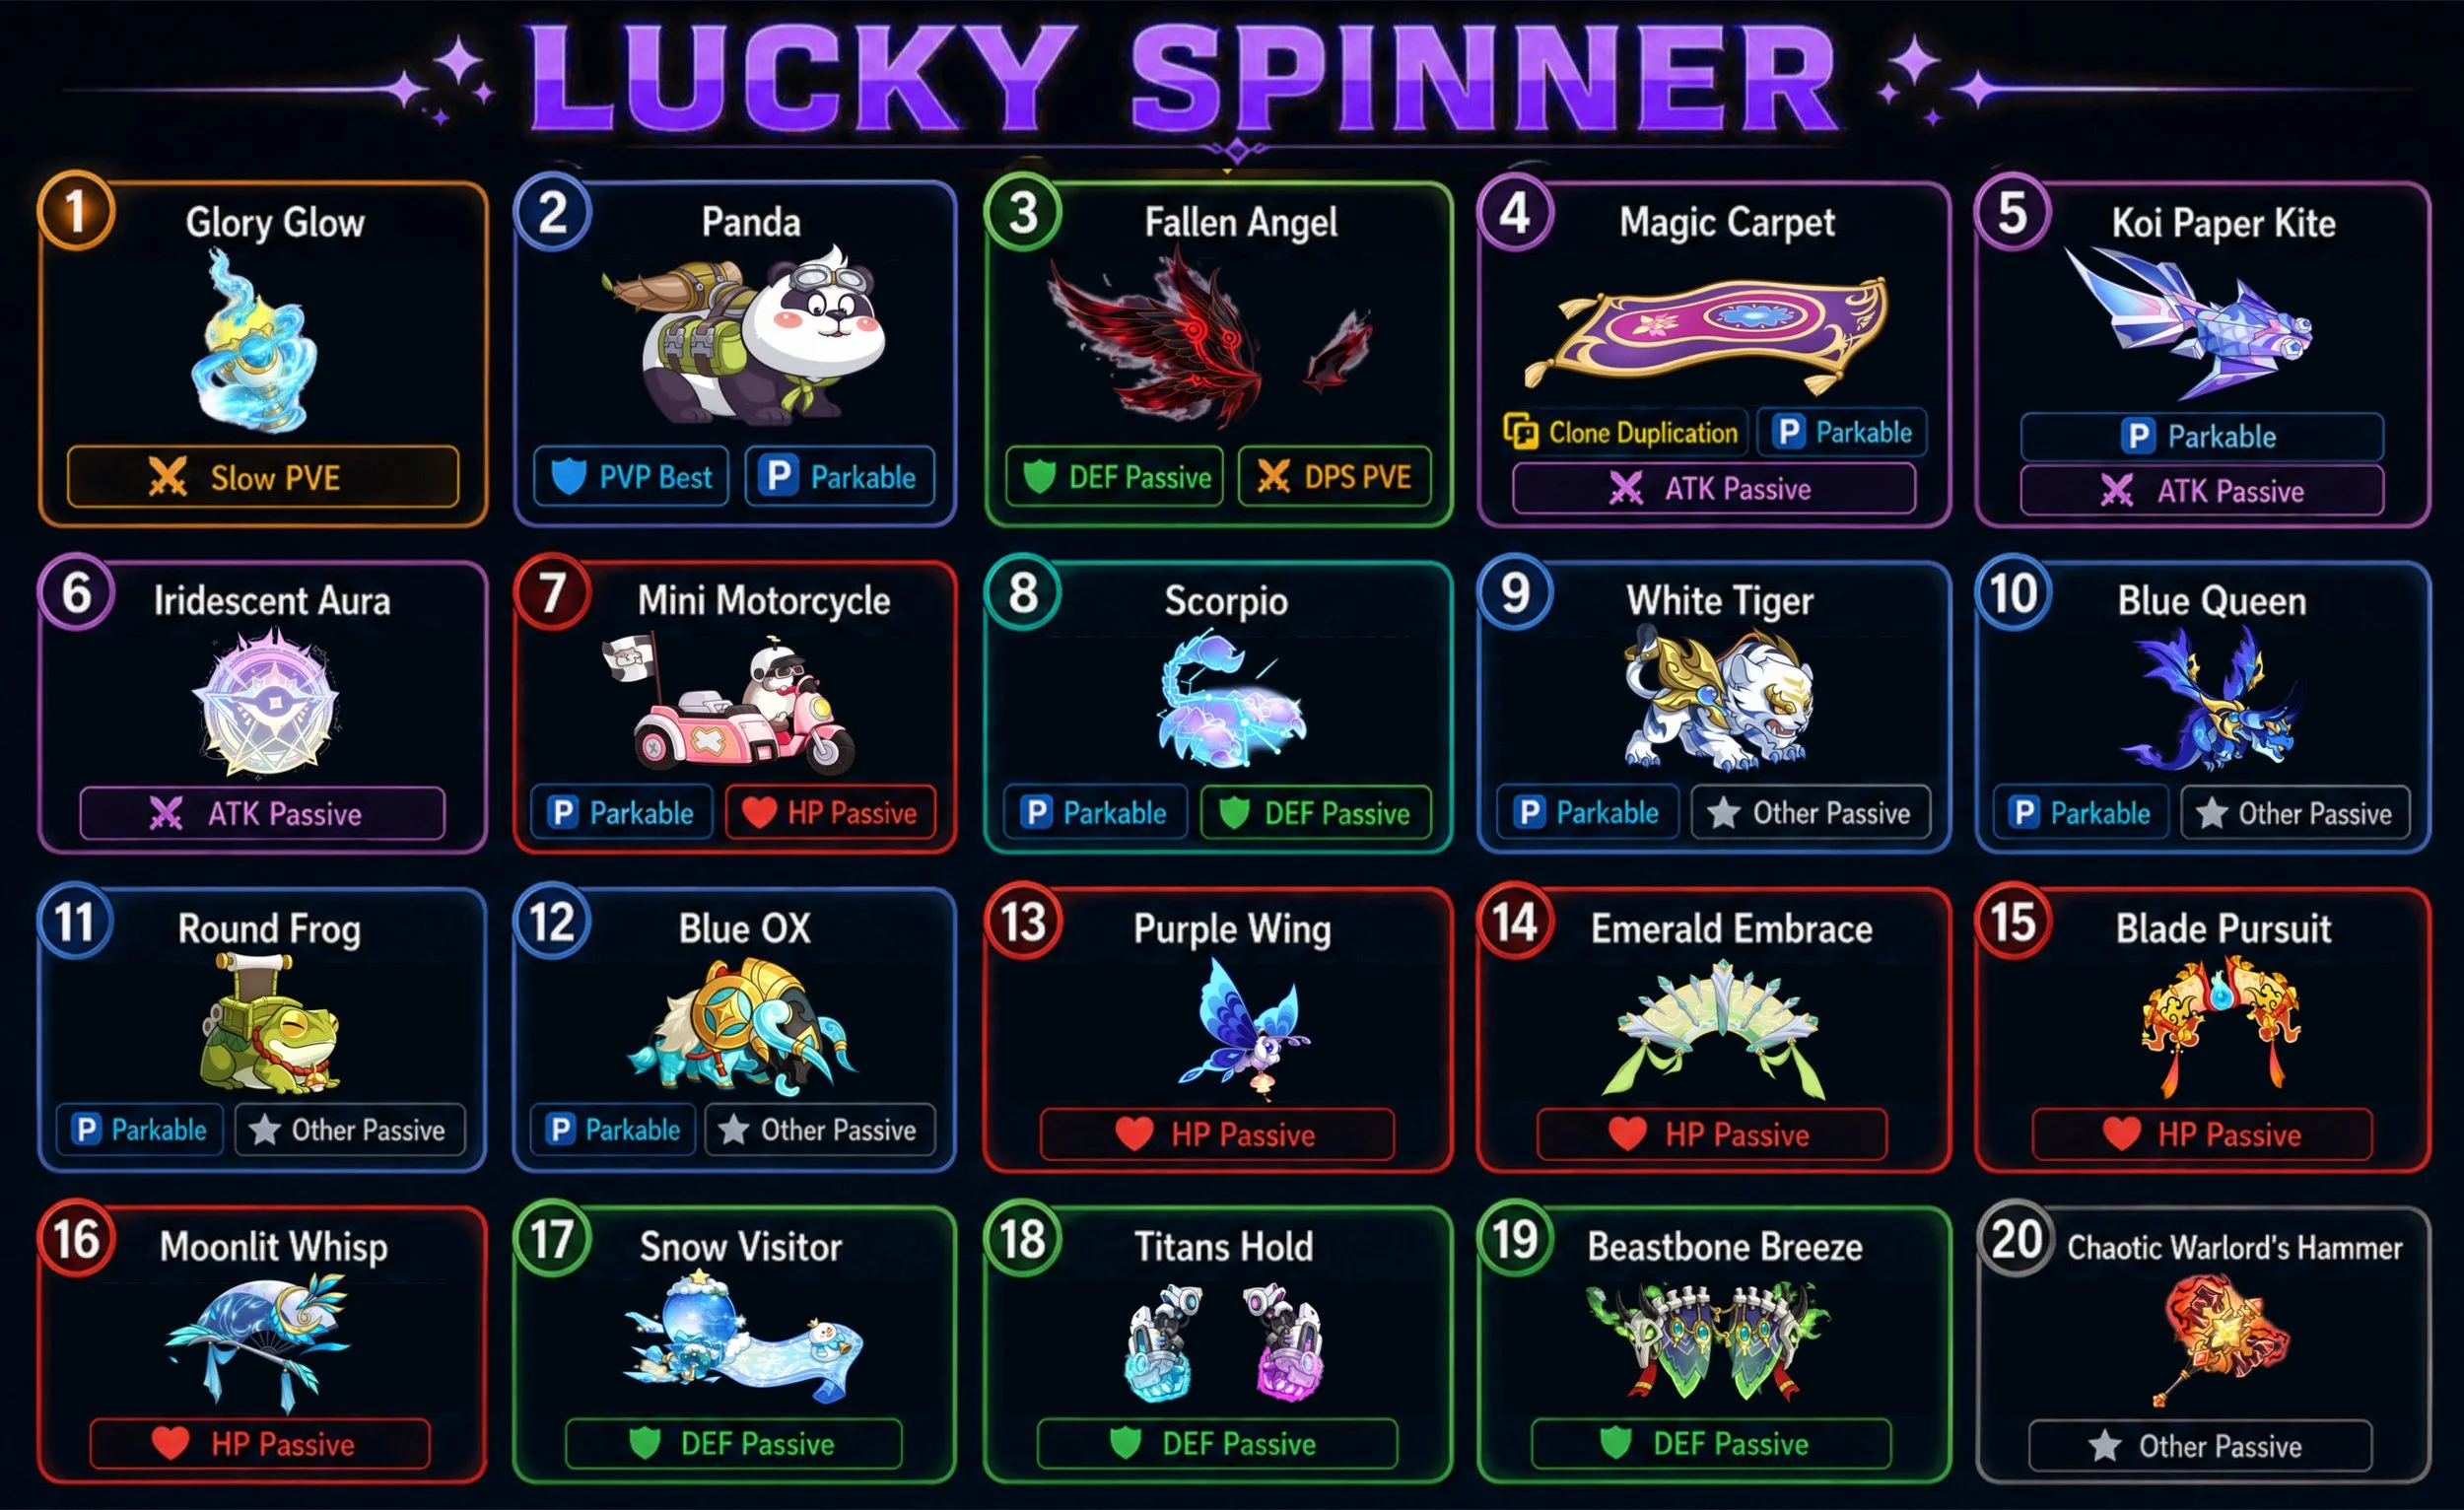
Rush & Lucky Spinner Orders
Below is the order I would buy the items - it can change if you have P2W items. But if you’re F2P follow this exactly and you’ll have a great start!
It is important early on to collate lots of Mounts for parking rewards, specifically the Scroll awarding Mounts - For a full luck at this table visit here