
Base Features
These are the main features, things that don’t dissapear and aren’t fully build specific
(Some exceptions apply)
Tasks

In here you will find; “Task”, “Handbook” and “Achievements”. These are mostly natural progression based and a red dot will appear when there is something to claim
Task
These are daily tasks giving some extra gems and rewards. There are 3 tasks to ‘Defeat Monsters’ 50, 100 and 150 times. These 3 tasks reward ‘Pact Coins’ which are quite rare so make sure to complete these daily!

Handbook & Achievements
These ones can’t be sped up and will just happen as you progress through the game
The Handbook is based on Skill and Pal levels and will reward ‘Additive Bonuses’ upon each completion
Achievements has some nice rewards for a large Array of tasks. There is a few that are worth noting for early players which are;
1. “Cross-Server Warbringer”. This challange set offers ‘Cross-Server Crystals’ which can be used to buy some important Pink Skills. Earlier you can complete these the quicker you can get your skill!
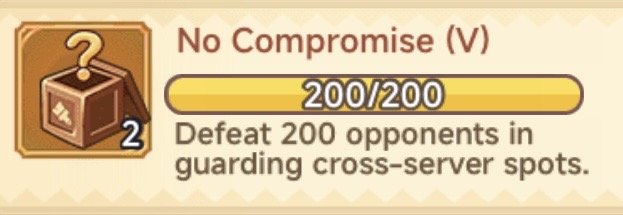
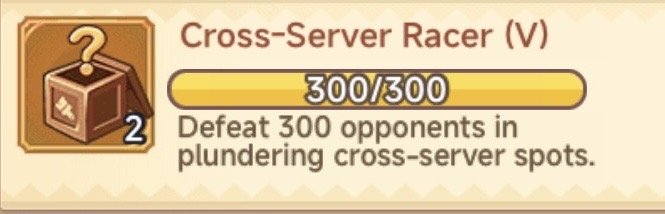
2/3. “No Compromise” and “Cross-Server Racer”. These challenge sets reward Random Parking Decoration boxes which can give some great bonuses early on!

Arena

In here you can find 2 Arenas, the first “Arena” is just your server, the second is “Cross-Server Ranked Match” which is split into groups across your region
Server Arena
This Arena is just between you and server mates, it lasts 1 week before resetting and there is Daily and ‘Season’ Rewards. The rewards here are just a few Red Gems and Seeds so it is not super important
You can earn more tickets via spinning your Lamp
Cross Server Arena
This Arena is much more important especially early on. You will be split into groups within your Ranks. Higher rank is more rewards so you want to try progress as far as you can. These have 2 rounds per week and you get 5 attacks per day
Early on you will want to push as far as possible as you need to get 12k “Glory Badges” to purchase all your “Awakening Crystals” and a further 32k to get all your “Soul II”
(Explained in ‘Glory Shop’)
Glory Shop
This is located next to the “Random Challenge” button in Cross Arena. There are many things you can buy here and I will go over the best here, however early game you want to focus 2 other things one at a time:
1
"Awakening Crystals”
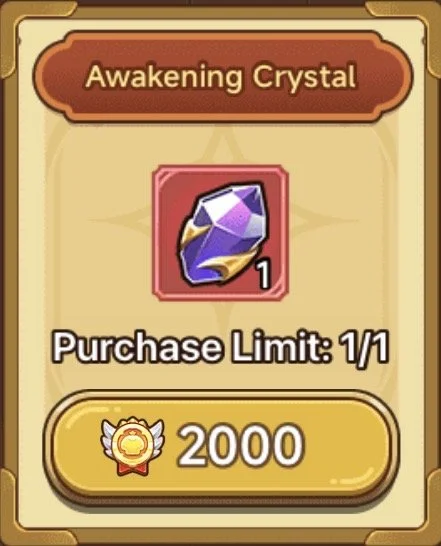
These are the first priority and you will need 6 to complete awakening
Note: They can be found here for $£
2
"Soul II”
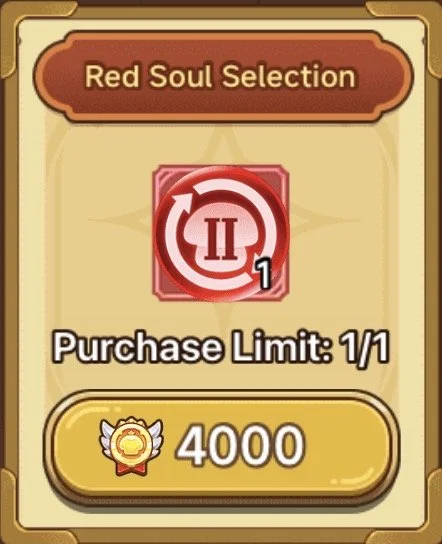
These are the next priority and you will need 8 to get all your Pink Souls
Note: They can be found here for $£
Manor
The manor has many features within it: Workers & Workshop, Mystic Merchant, Host, Farm & Prayer, Mine & Tech and Parking
Pal Workers & Workshop
Within the Manor there are many things that you would need to do daily. This features allows for an idle friendly set-up
Note: Mining team don’t search for the Mines for you, they just open them
Teams
There are multiple teams which I won’t go into depth on. For each team you can select a Pal as the leader and (after purchasing the slots with Manor Coins) 3 avian slots as supports. For each team there is a few settings you can set-up to have them do exactly what you would do

Bonus Skill
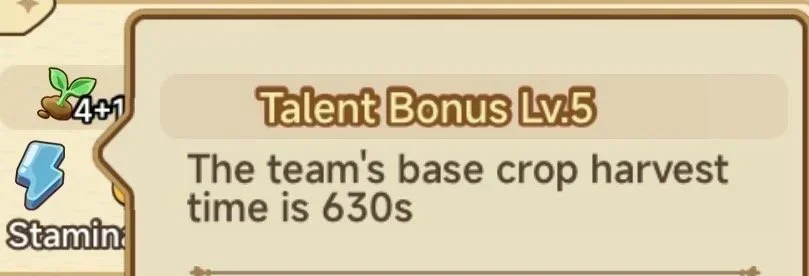
The leader has a “Bonus” skill which is levelled dependant on rarity and improved through levelling them up, this skill is their efficiency and so higher rarity pals will be more efficient
Support Affixes
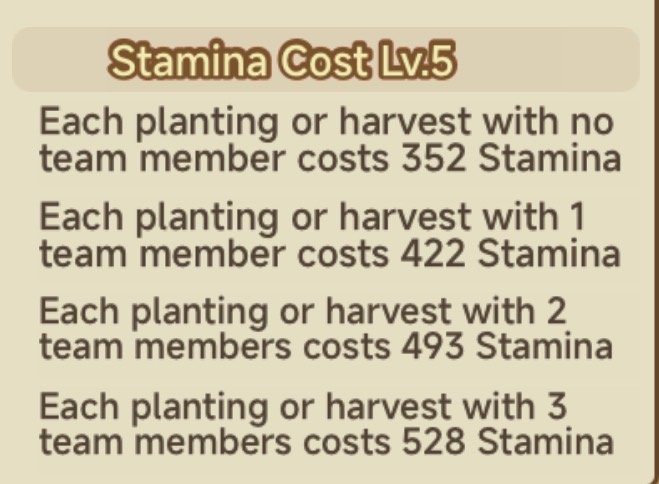
The ‘Member’ Avians have an extra stat (More info on these here). These can improve the leaders efficiency or in the case of ‘Work Light’ lower the stamina used

Stamina
Each Pal has a set amount of Stamina, the max stamina is higher on higher rarity pals. Through viewing their Skill you can also see “Stamina Costs” this, like all the rest, is dependant on their level. Adding support avians increases the Stamina needed for the leader to work which is where Work Light comes in to help reduce this cost
(I would suggest first aiming for Work Light until you can use maximum level Pals)
Food
To keep the Pals Stamina up you need to use ‘Food’, you can set them to auto-feed individually if you want to prioritise any when you have low food supplies. You can buy food through Mystic Merchant, however, this is mostly crafting ingredients which you will use in the Workshop

Workshop
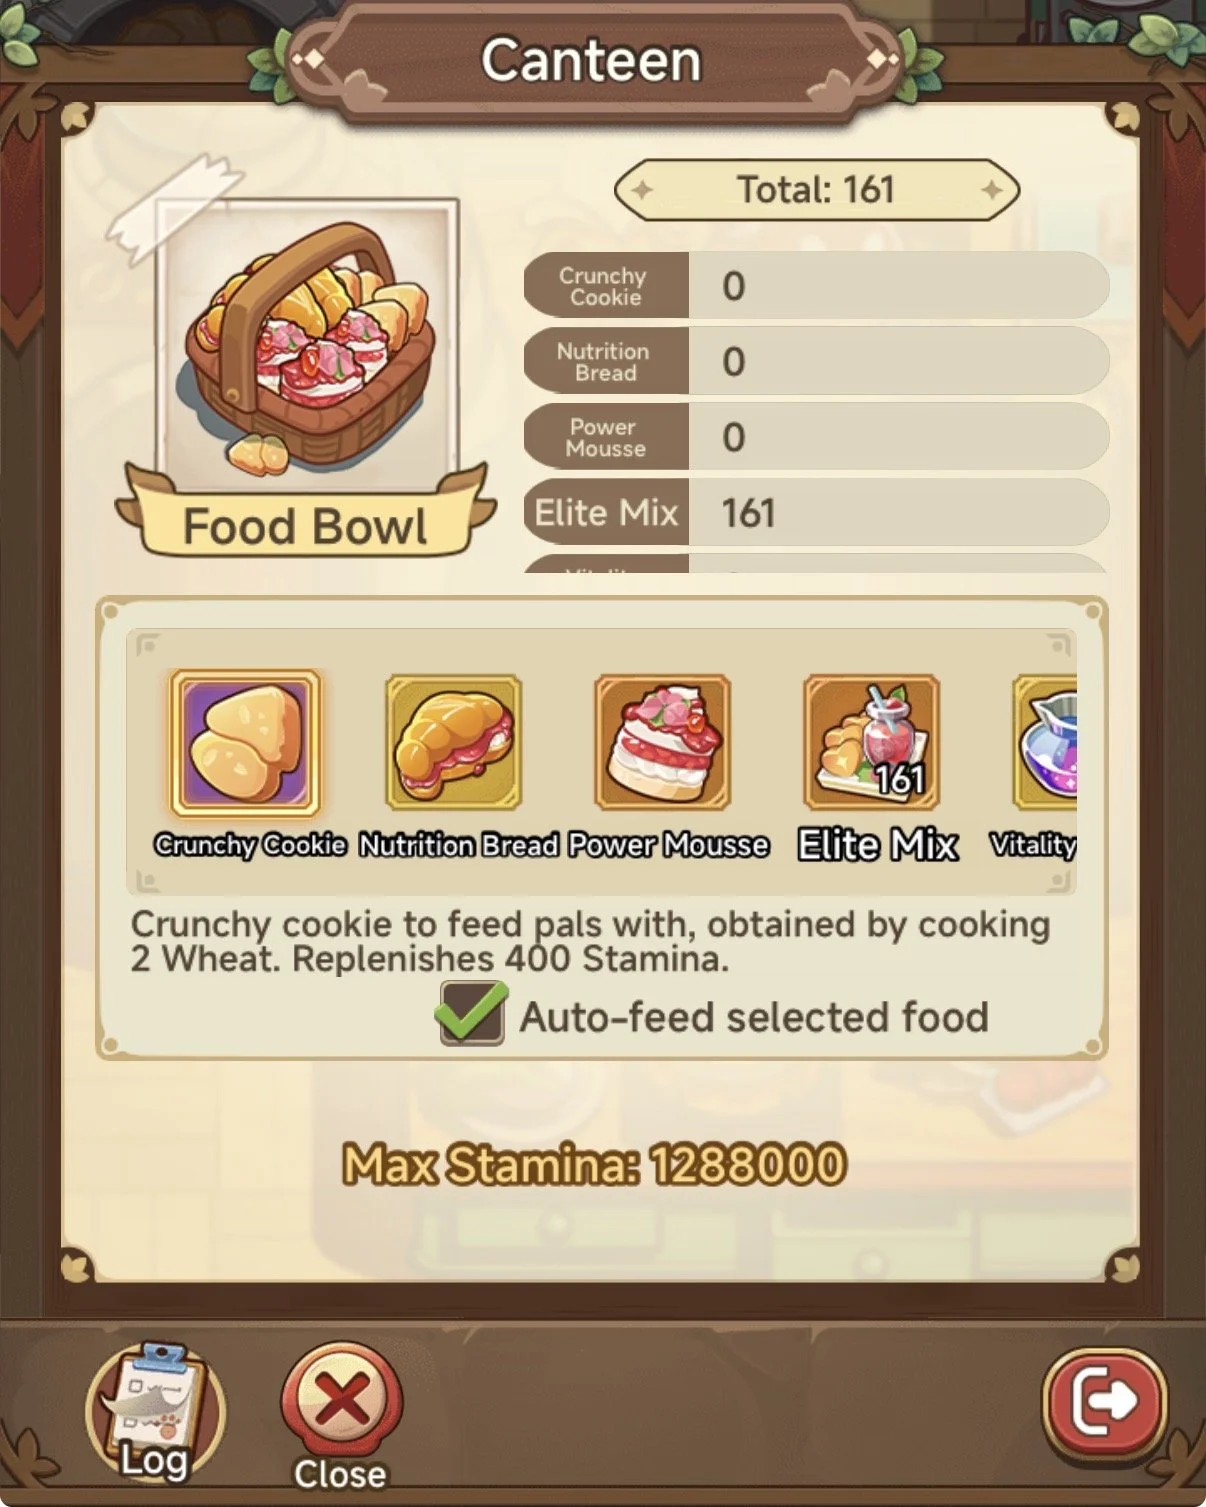
In the Workshop you can either craft yourself or (after purchasing the slot) set-up a Pal team to craft the food automatically. There is 4 options here, the best two for value are “Crunchy Cookie” and “Elite Mix”. If you’re just starting out I would only recommend getting the ingredients for Crunchy Cookie as it is cheap while you don’t have too many Manor Coins
At the bottom you can see “Canteen”, this is where you can see how many of each food you have as well as select if you want it to Auto-Feed or not

Mystic Merchant
In here you will find; Purchase, Sell & Current Price, Manor Assistant
The link for purchase will take you to the rundown of what is best, the main thing to note is the Food
Purchase
I highly recommend only getting the ingredients as if you use higher level pals this is all you will need and they don’t cost too high. If you have spare then you can follow the spending guide on this
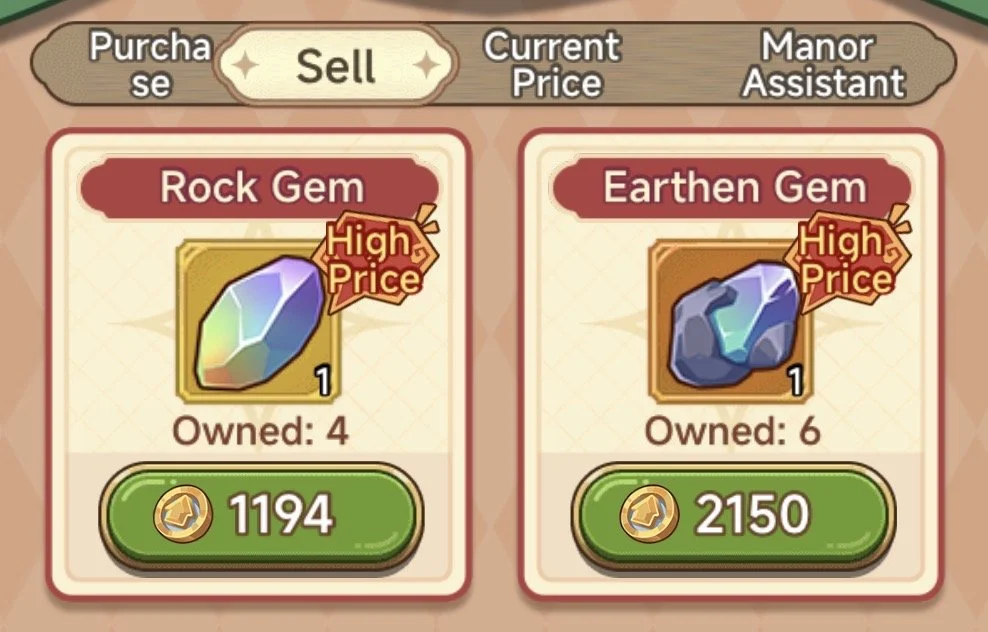
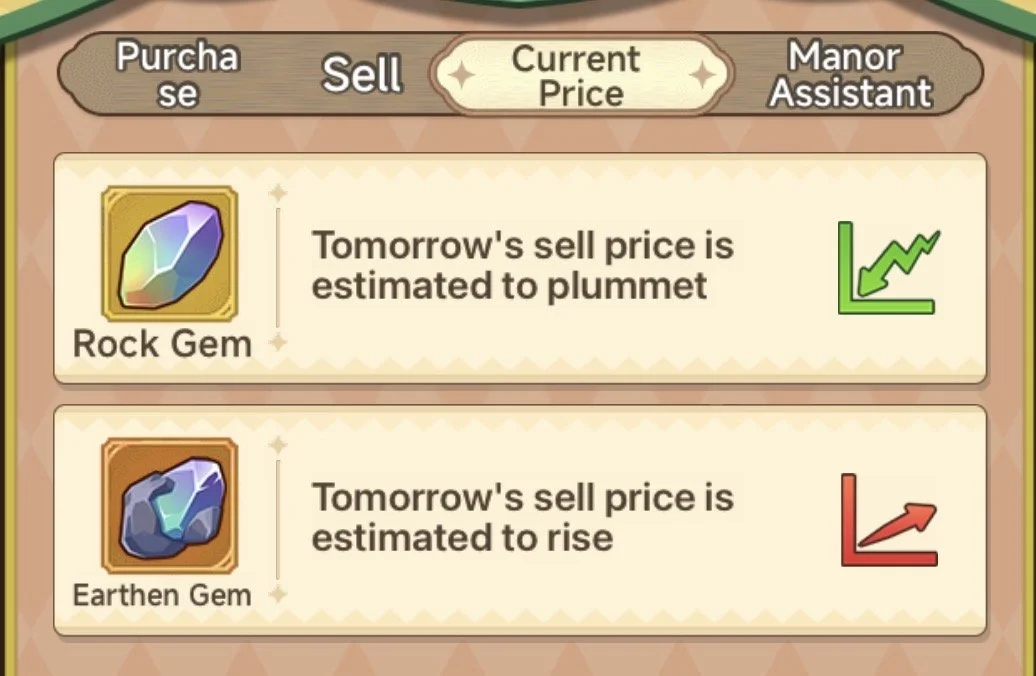
Sell & Current Price
Is where you can sell the gems you obtain from Mining and check if the prices will go up or down the next day. Only sell when it says “High Price” and the value isn’t going up the next day
Manor Assistant
This is an extra way to speed up your dailies, however it costs quite a lot of Manor coins so only do this if you don’t have time to do it yourself

Host & Ring

In here you will find; Affinity, Partner, Weddings & Passion Post, Ring
The link on Weddings & Passion Post will take you to a run down of the White Gem spending on them
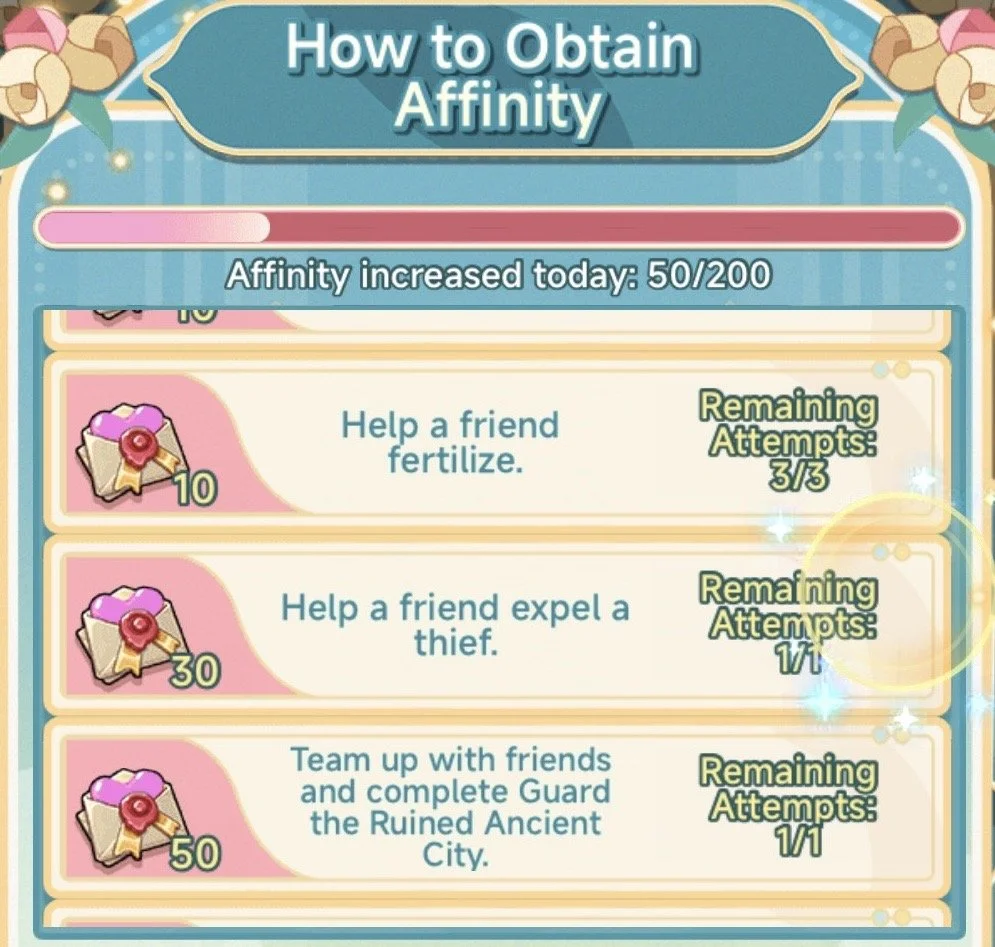
Affinity and Partner
Having a Partner is very important as it will increase the Bonus you get on your ring, the earlier you can find someone the better
Once you have a Partner picked you will need to send “Milk Tea” (Roses if you have them aswell) to boost your ‘Affinity’. It is recommended to spend the 600 Red Gems on these too. You can also do tasks with your Partner to boost affinity faster
You need to reach ‘Cordial’ (999 Affinity) status to be able to make them your Partner officially and 5000 Affinity to ‘Propose’
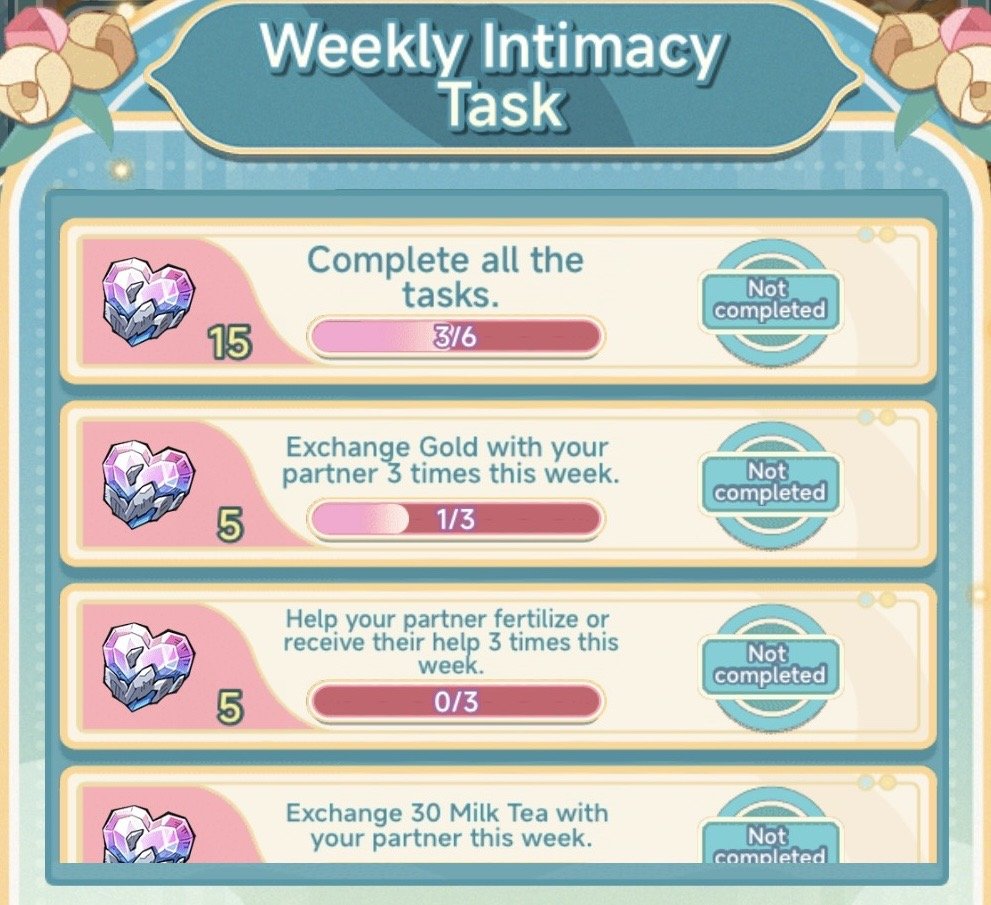
Once Married there are new tasks in “Cooperation Test” where you can gain ‘Gems of Love’ which you will need to upgrade your ring. Now you’re married you will need to keep boosting affinity everyday to reach the ‘Milestones’, these are where you will gain more boosts
Note: As you get ‘Milestone’ rewards for affinity level it is worth doing daily tasks with others until you have reached the maximum claim on these
Weddings
With Weddings there is a 15k Red Gems one you can do if you aren’t choosing to spend. Try to set your wedding to a time you and others are available as more rewards can be earned during them

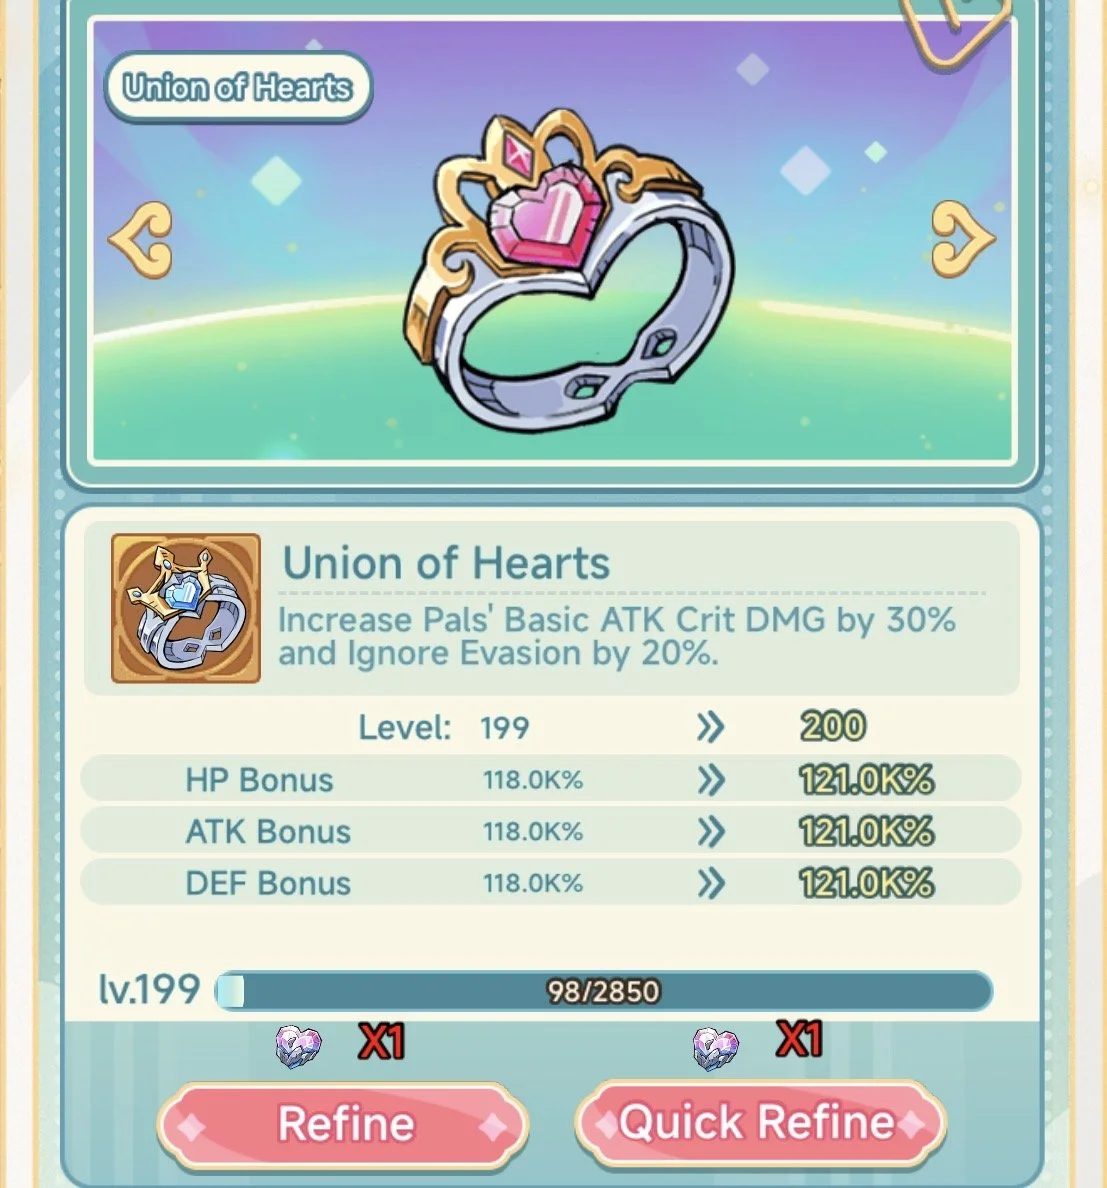
Ring
This is a very important stat booster, when it goes past certain levels the increases are quite big so try get this pumped up quick. Additionally if you’re a Tamer the ring will give more bonuses at different points
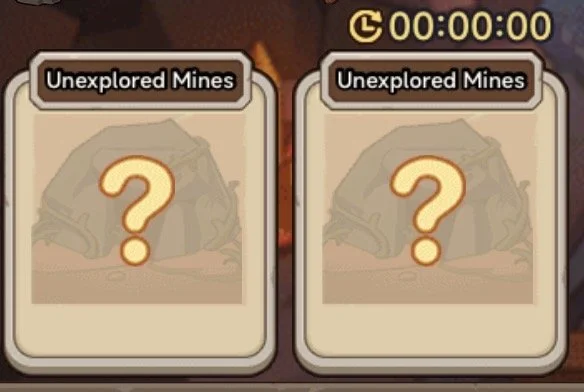
Mine & Tech
These two go hand in hand
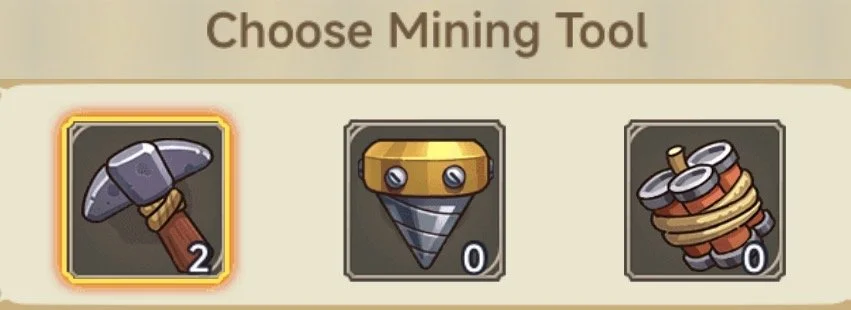
Mine
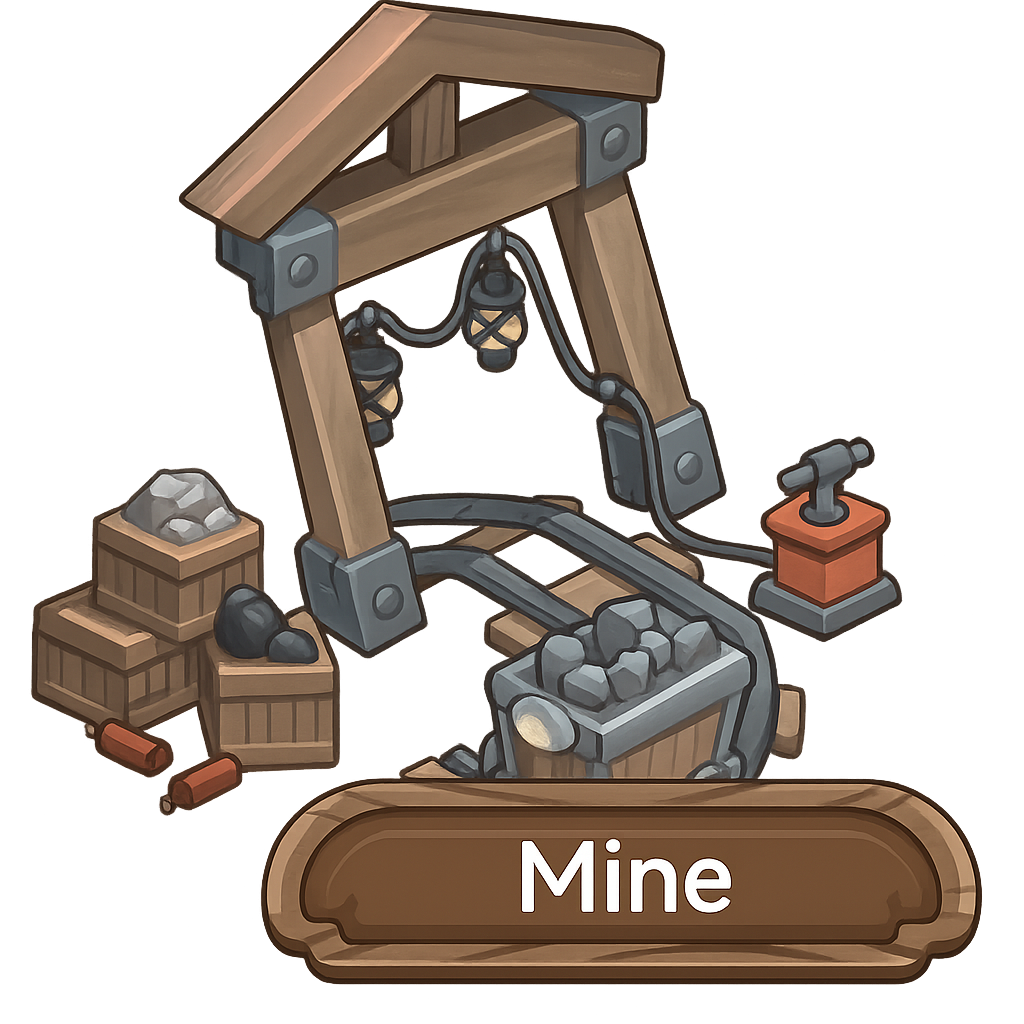

In the mine you have 3 options, Pickaxe, Bomb, Drill. I recommend using the Pickaxes when just going straight down, you can use Drills to clear rocks or if you need to go a different direction for a Mine. Bombs try to keep for the 3x3 Mines as this will clear one fully if places in the centre (Also can be used if needing to grab last bit of one at top after Auto-Mine)
Auto Mining is available after 1000m depth and can be done using an AD once per day UNLESS you have the Mining Pass and then you can do it as often as you like. It has been proven that manual mining is more efficient then Auto if you have the time to do it manually
There are multiple different types of mines that can be found depending on your depth each with a differnt value for Ore. Once you have got mines you can set your Pal Team to work by clicking into your mines at the top

Tech <- This is a Rush

Now you have Ore you want to use it in Tech. If you are newer you want to Prioritise Blue Tech nodes first as they will help with progression. Afterwards work your way through the HP/ATK/DEF nodes, I often recommend focussing ATK and meeting the requirements to get to the next stage to save more Ore and get through faster
After reaching the bottom there is no specifc order to do them, consider what you lack and what you need and make a decision from there
You can set a Pal team up in here and set 10 nodes for it to upgrade
You can use Speedup Coupons here to speed the time up, as you will be doing this through rushes you will want to use these only during the rush
Note: When you reach the bottom the 999 and 40 sets are the same costs, however the 40s are quick and the 999s are slow. Due to this I recommend prioritising the 40s for Rushes and, if you have enough, do the 999s inbetween Rushes
Farm & Prayer
These go hand in hand
Farm
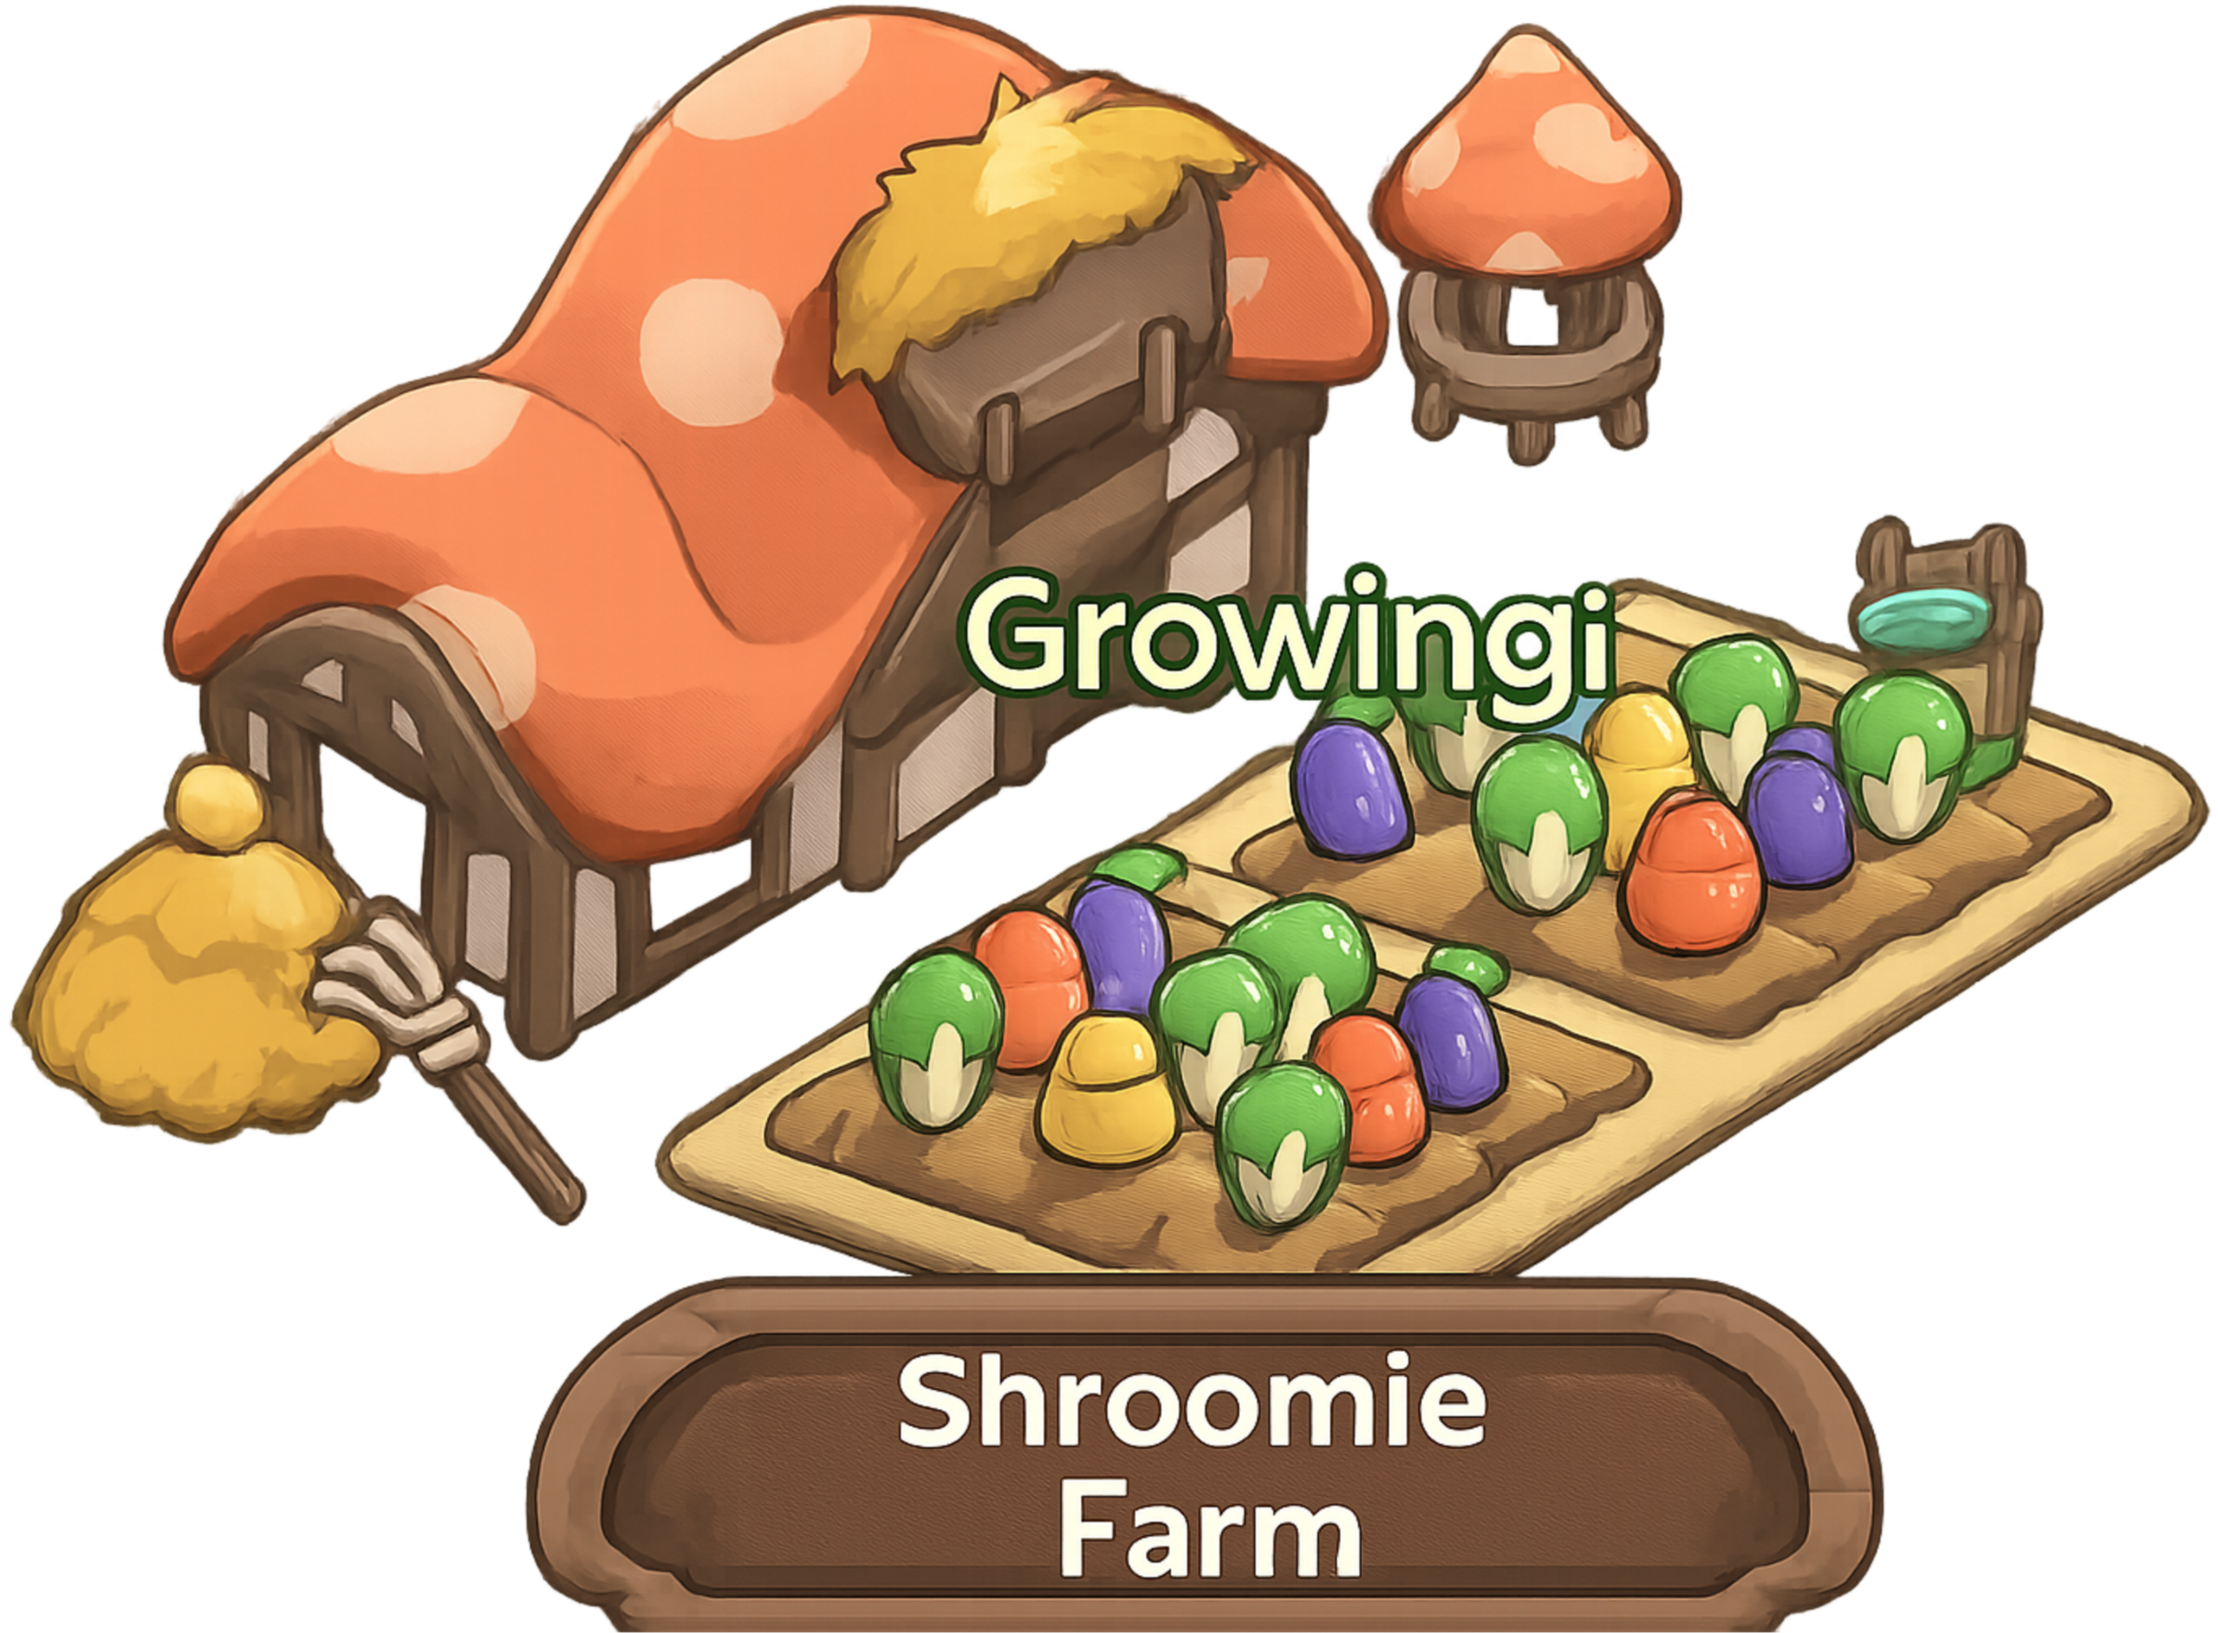

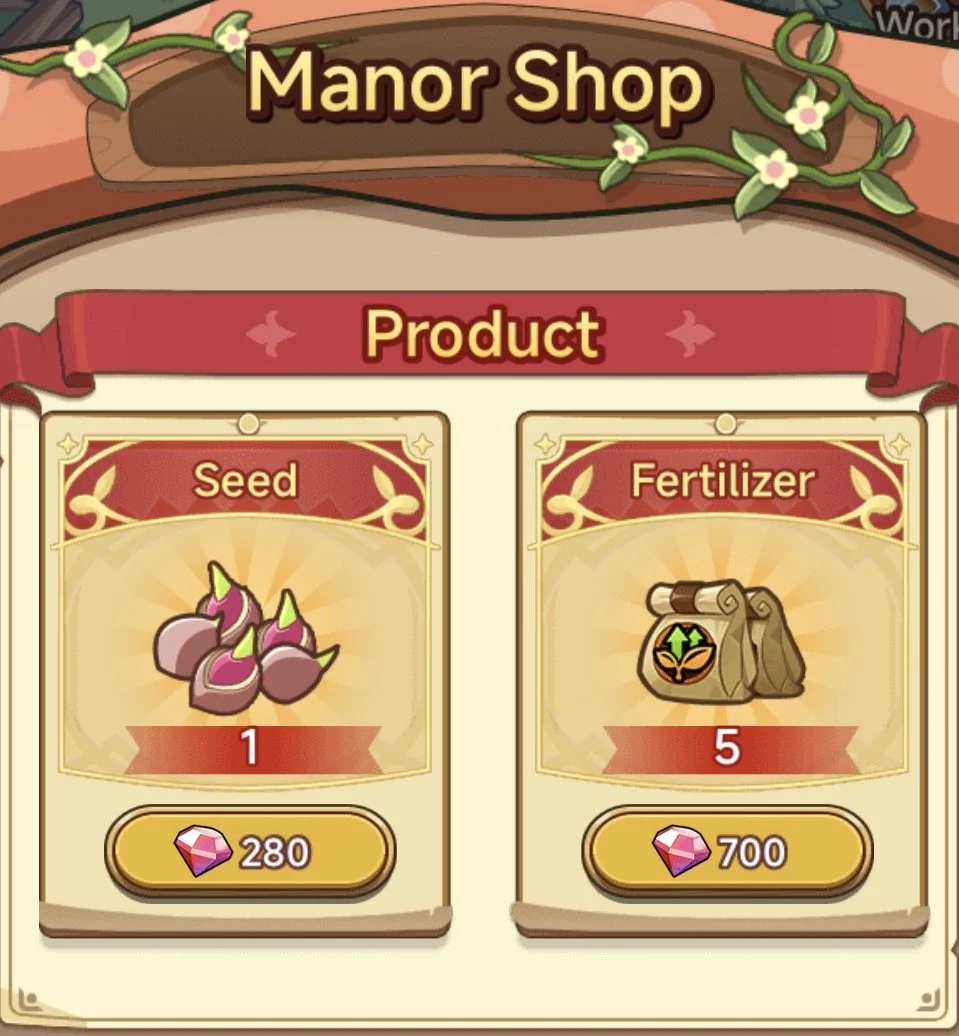
In Farm you have 3 Seeds and 2 Fertilisers. You plant seeds and can either choose to fertilise or wait for them to grow, early on I recommend to just keep fertilising as you need to unlock the whole garden
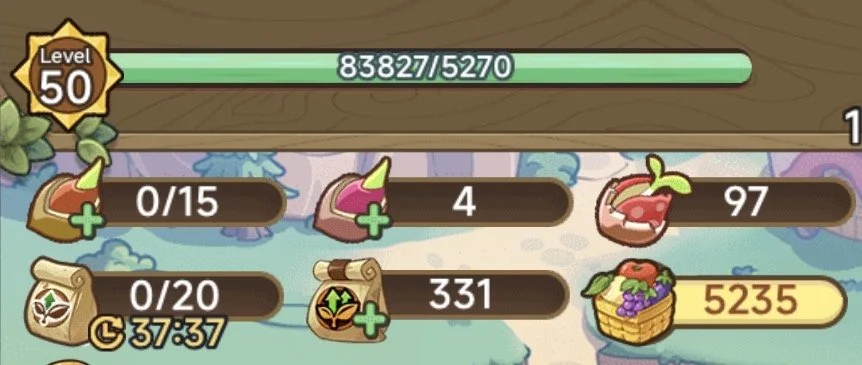
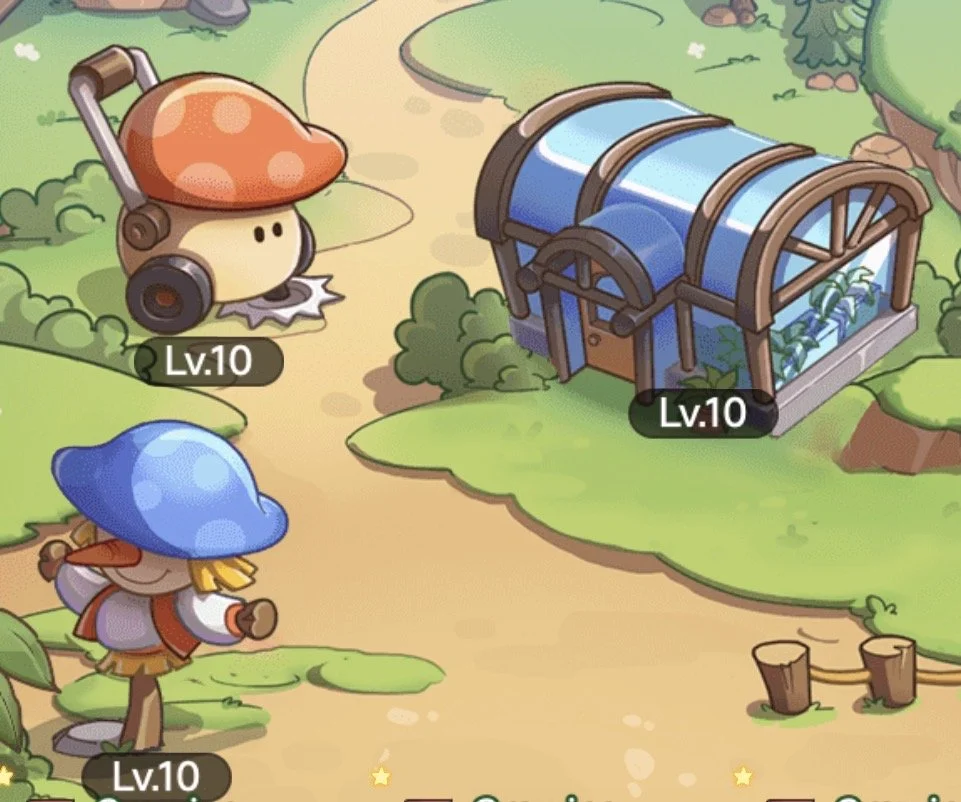
As you collect Crops you will earn XP for the Farm, every time the Farm levels up you will get Action Points. These are what you need to Upgrade the 3 buildings; Greenhouse, Lawnmower, Scarecrow. I recommend levelling them in this order as the lower the speed the sooner you can get more XP and so on (The Globals from these are only for stealing/defending crops so are not important)
You can set up 3 Pal teams for in the garden; Plant (Most Important), Water and Patrol. Planting team are the main priority as they will replant your finished crops while you’re offline
As you get later in the game you will want to turn off Legendary Seeds and Advanced Fertiliser from your teams so you can complete the Parking Shop Card “Bountiful Harvest” 3x weekly with the most efficiency
Note: You can give friends 5 fertilisers per day by going into their farm, make sure to do these daily with your partner!
Stealing
I don’t think this feature is important, the gain is low even as a new starter and can make enemies. However if you want to do it I recommend only doing it on AFK opponents, if you do it enough you can make some nice gains
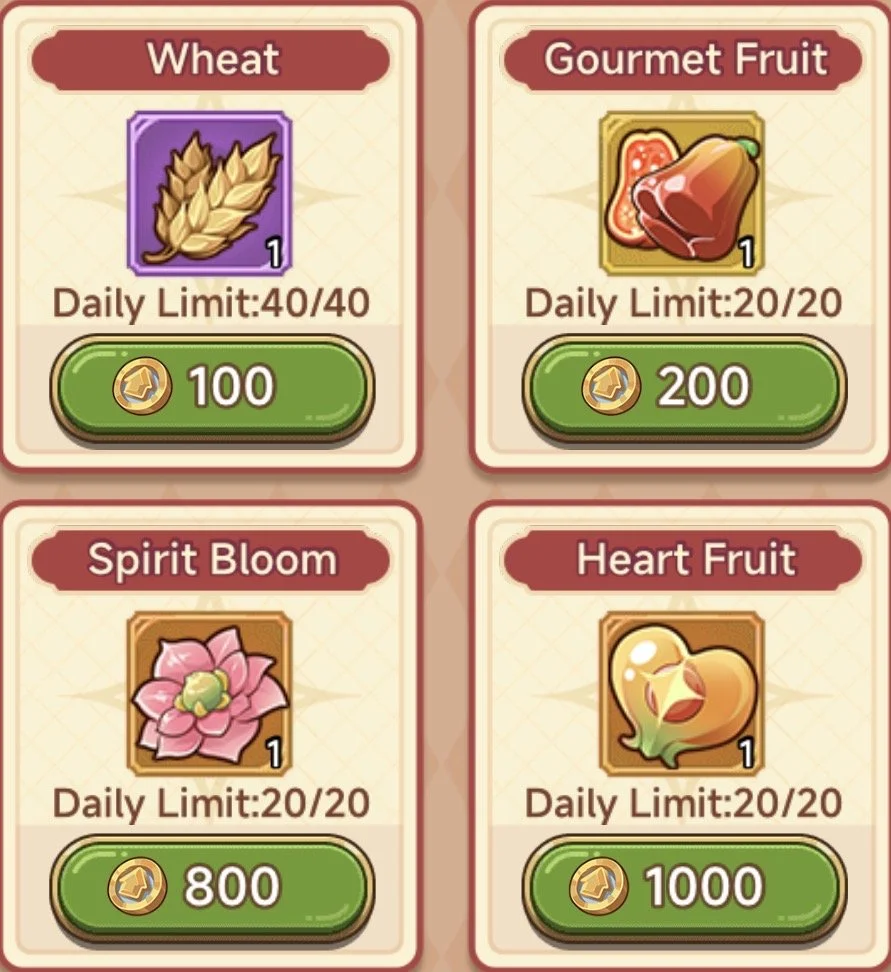
Farm Shop
I recommend getting 5 of each item a day, after that it gets too expensive
Prayer <- This is a Rush
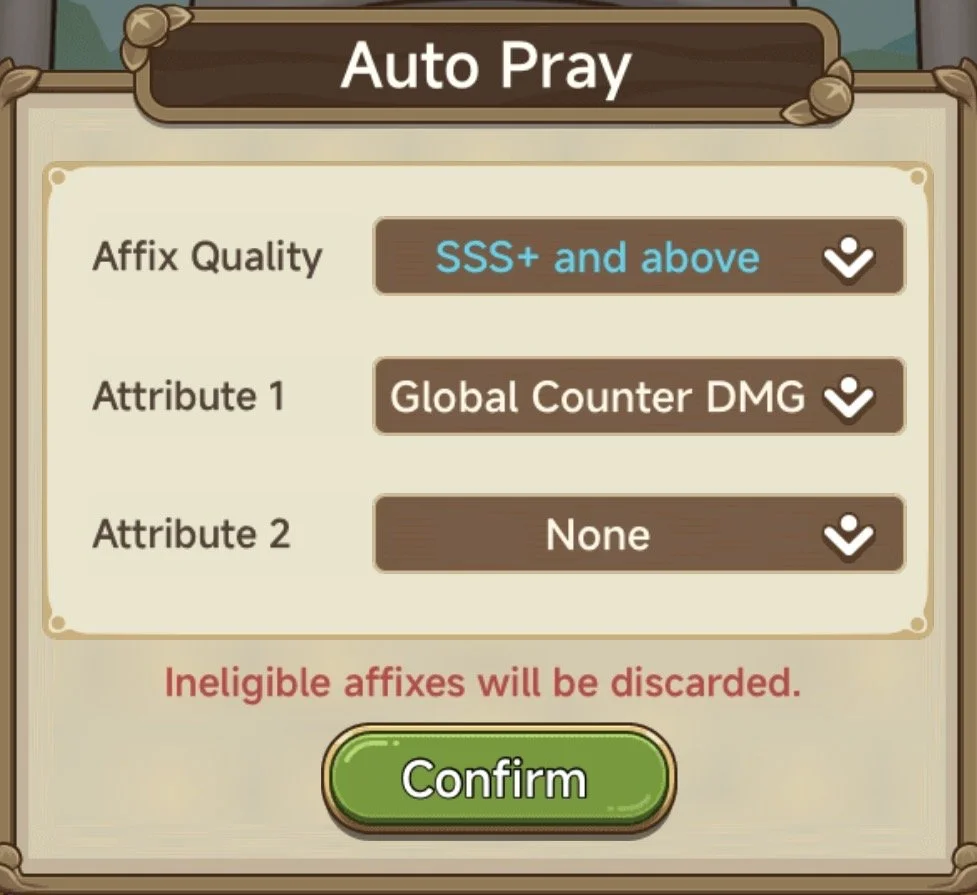
Once you have your “Fruit Offerings” from the Farm, you can come to here to roll for stats. The stats you aim for will be specific to your class so I recommend checking through here before rolling

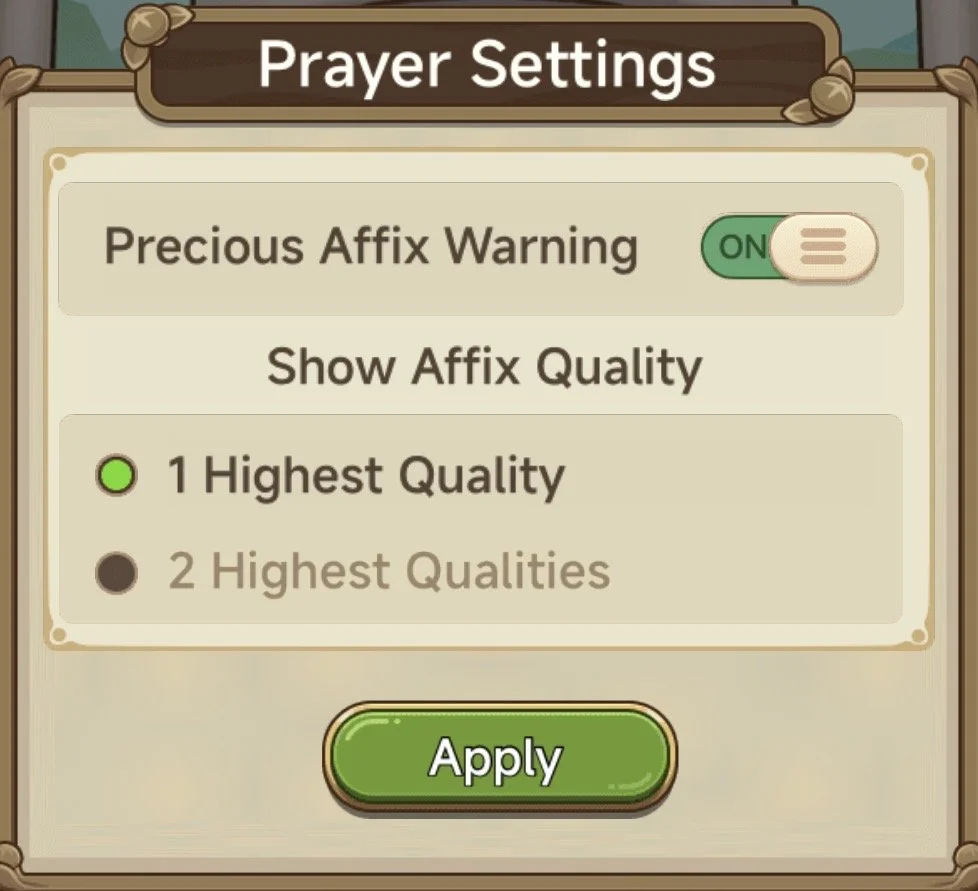
You can set Auto Pray or do it manually, manual is quicker but make sure to have “Precious Affix Warning” turned on to 1 Highest Quality in settings before you do it. Once you have the stat you’re looking for you can ‘lock’ it so you don’t roll it away while filling the next slots up, bear in mind this will increase the cost to roll
You will always aim for the highest rarity of the stat you’re looking for, when levelling the statue up for a new rarity I recommend creating a new tree
Astral Spire

This is located in any of the locations that you have maxed from Prayer/Ring/Relics and allows you to use spare resources from these places upon maxing them out
Note: Using items in here DOES contribute to rushes!
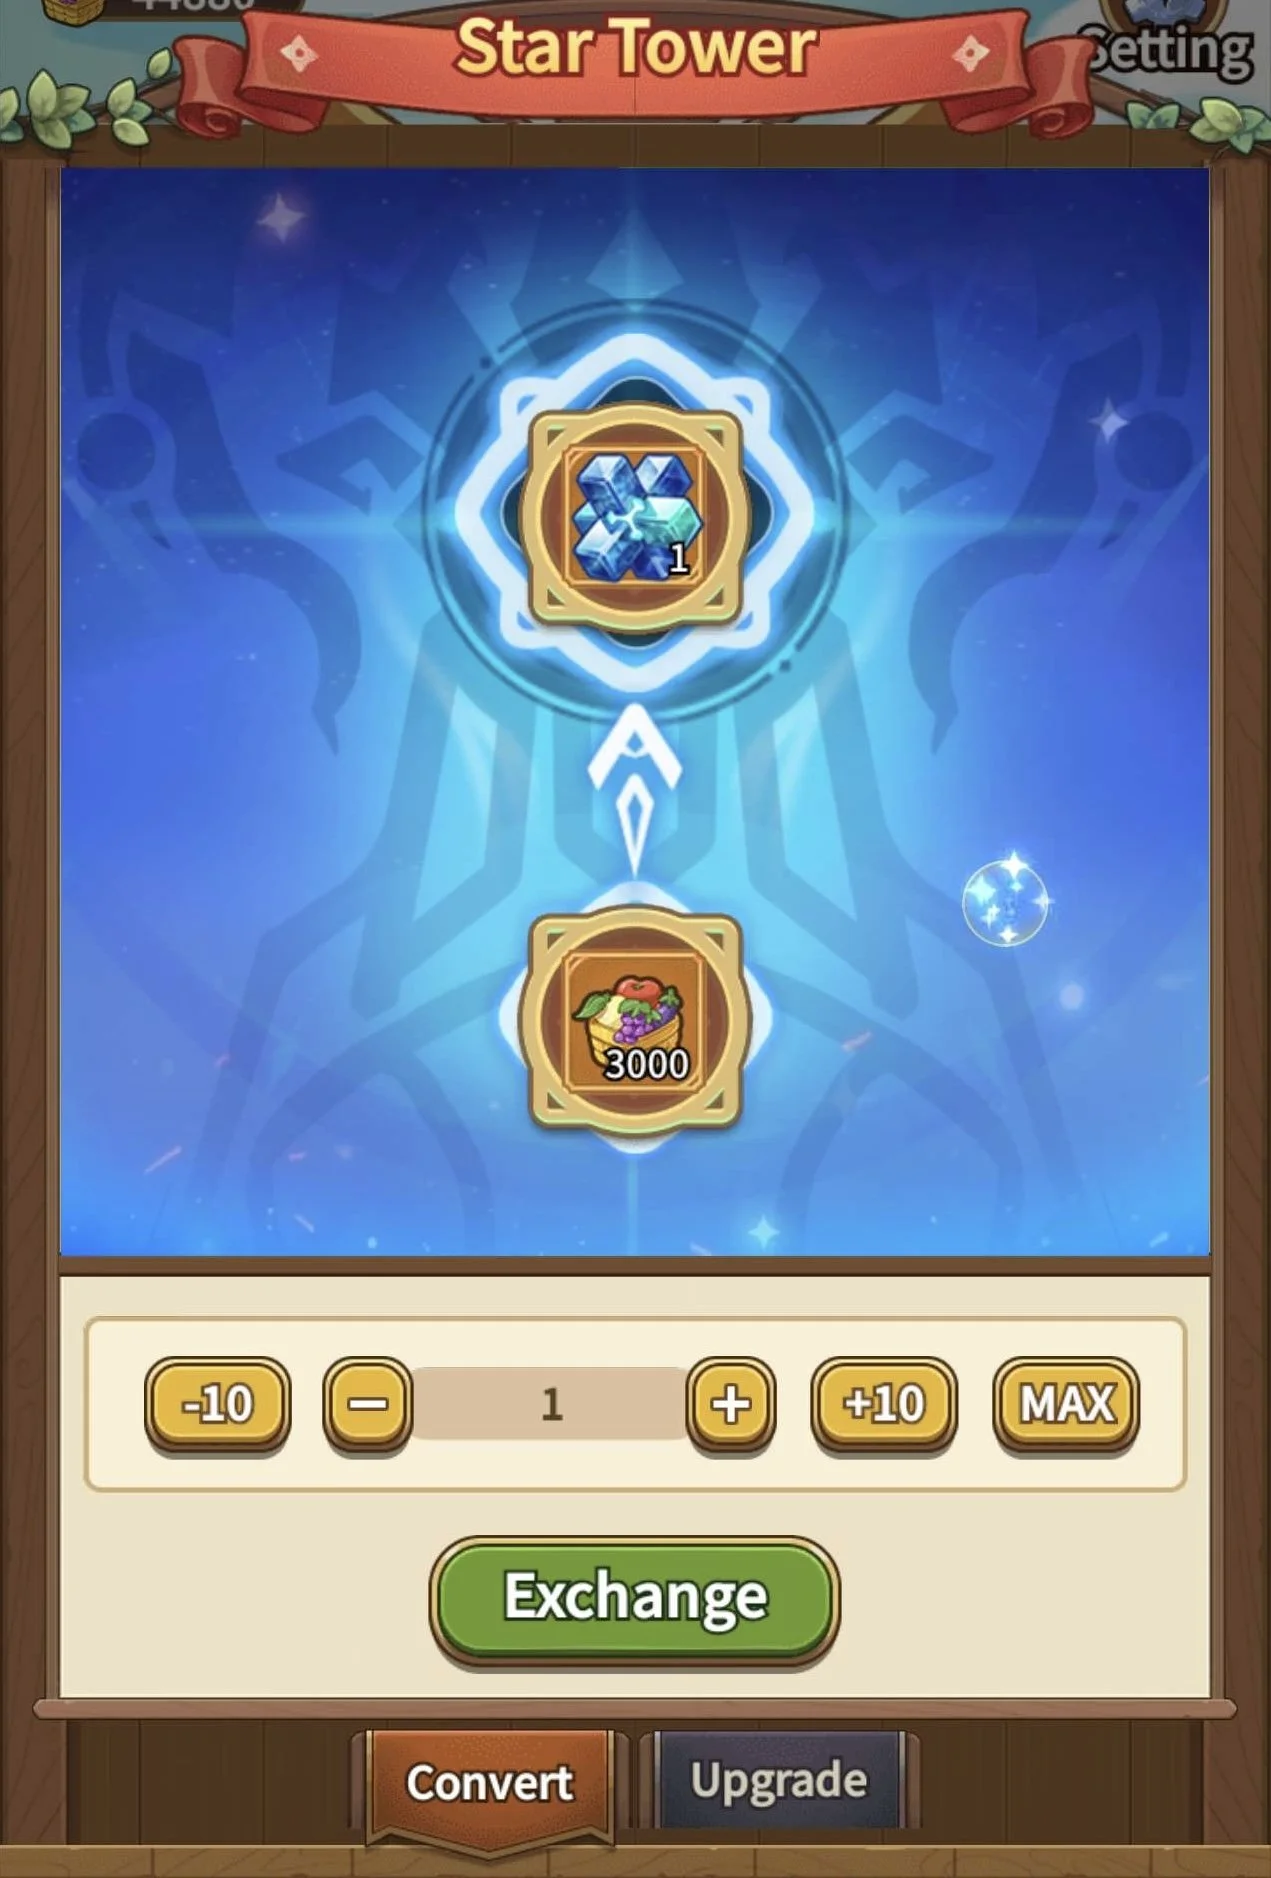
This is how it will look, you need to convert the materials into “Origin Cores” You then need specific amounts to ‘Upgrade’ the bonus
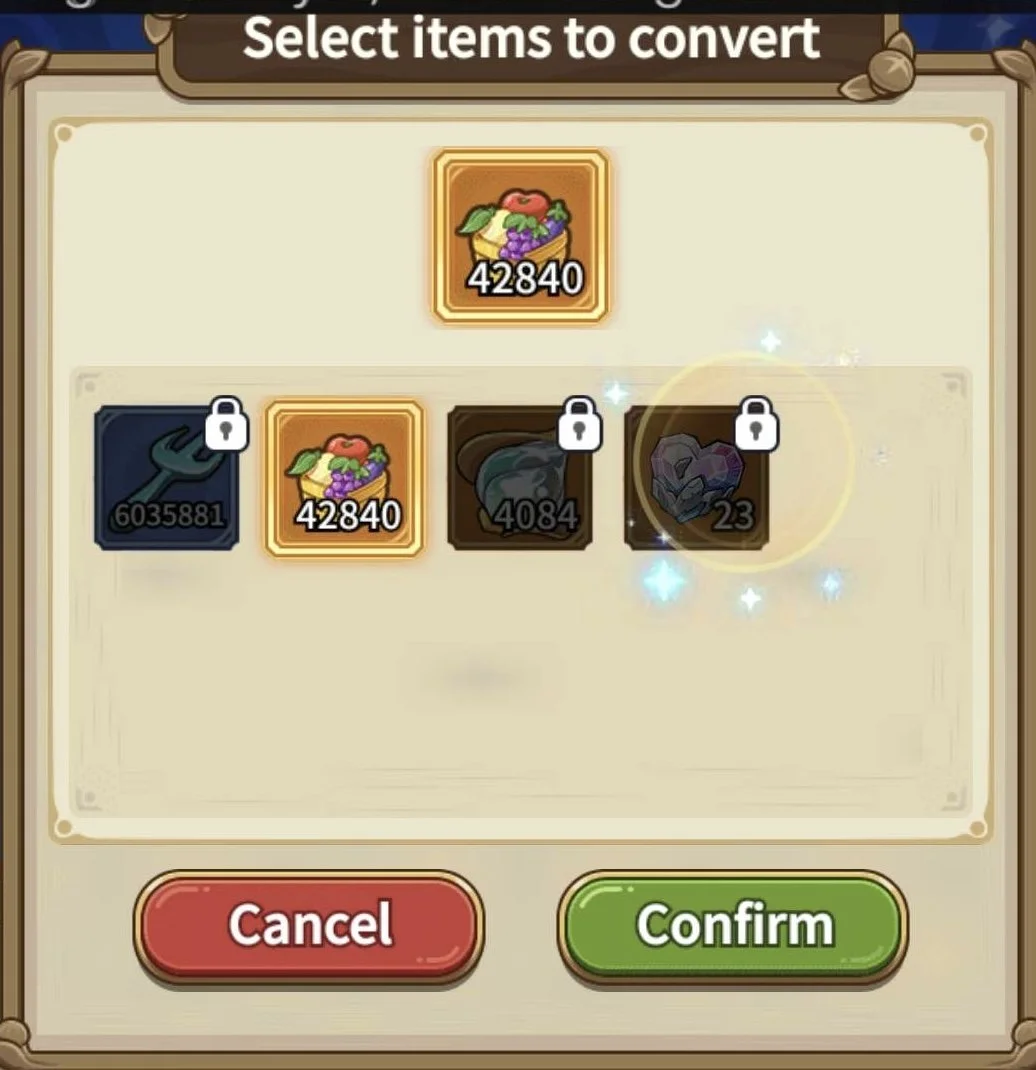
As of now 4 different items are available to convert
(As long as they are maxed out)
The conversion rates are as follows:
30k Relic Shards - 1 Origin Core
3k Fruit Offerings - 1 Origin Core
6 Gem of Love - 1 Origin Core
3 Primeval Breath - 1 Origin Core
Note: It takes 97,600 Origin Cores to fully max this system!
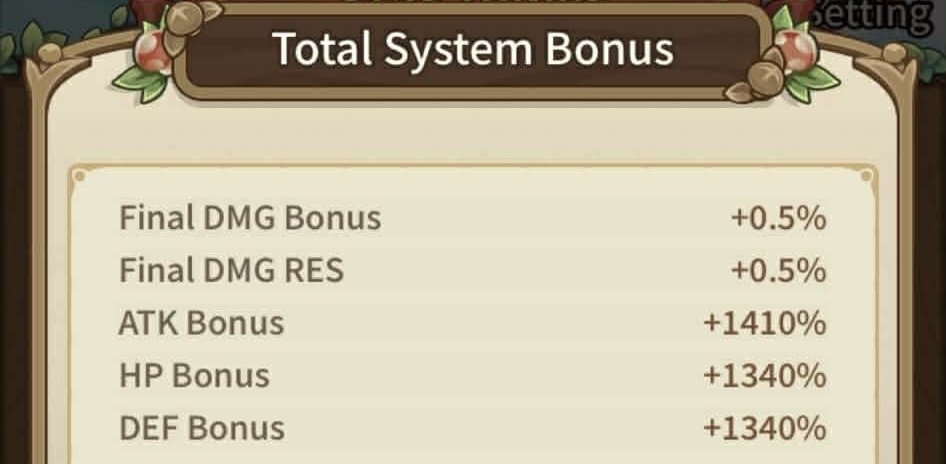
Multiple stats are aviailable in here as shown above
Parking

In here there a few things; Parking, Decorations, Parking Shop, Parking Wars
As Parking Wars is a Weekly Cross Server Event I have linked it separately